Introduction to "it" Scripting
Introduction to "it" Scripting
For this tutorial, you don't need a Maya scene file. All you need is a directory with a couple of images to play with.
1 - STARTING "it"
Scripting "it" is done via the "it" Console. You can access the Console with "it" started by clicking Windows > Console.... This window provides an interactive python command line.
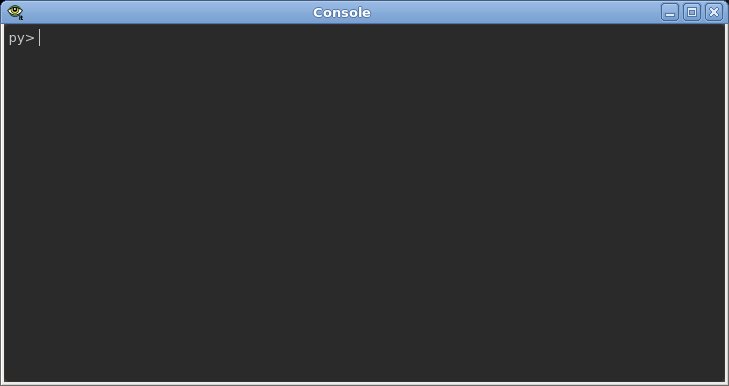
The "it" Console
2 - LOADING AN IMAGE
In the Console window, to navigate to a directory full of images type:
it.os.chdir('/path/to/images')
Open the image by typing the following command in the Console window:
it.AddImage( ice.Load('image.tif') )
it.AddImage() returns an It3ImageElement instance, which can be saved to a variable for later use.
If you look at the "it" window title or Inspector window, the image will appear with an e0 label. You can specify a label by passing in a second paramter to it.AddImage after the file name, e.g.
it.AddImage( ice.Load('image.tif'), label='_it1' )
Tip
The console features an autocompletion feature. As you type, the console will present a list of candidate commands. You can use the "up" and "down" arrow keys to select the appropriate command and then press the Enter key to have it autocomplete the command.
You can also use the "up" and "down" keys to cycle through all the commands you've typed. Previous commands can be edited this way.
3 - PLAYING WITH IMAGES
Let's say you have two images and you want to find the differences between them.
Load two images, and assign the ice.Image instances to variables img1 and img2:
img1 = ice.Load('image1.tif')
img2 = ice.Load('image2.tif')
Unlike the previous example we don't call it.AddImage so while the images are loaded into "it" they aren't displayed. Go ahead and call it.AddImage with the images if you want to view them.
To compute the difference, from the console type:
diff = img2.Subtract(img1)
3. Subtract() returns an ice.Image instance. You can then call it.AddImage() to add the resultant image to the catalog:
diff = img2.Subtract(img1)
it.AddImage(diff)
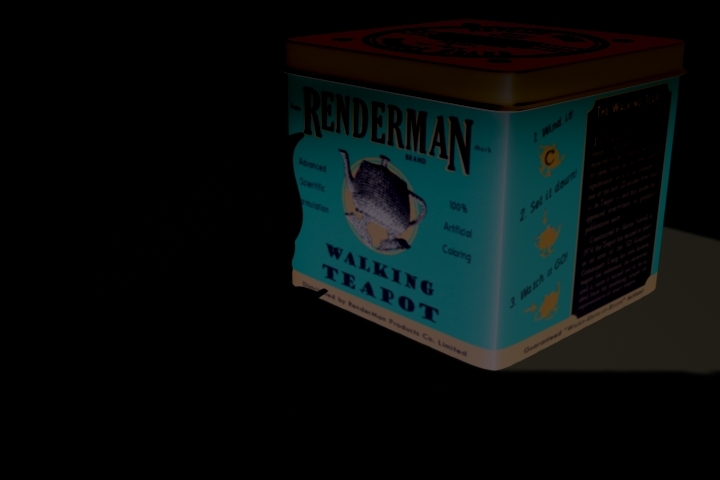
A "diff" result
Let's say that the differences were really small, and you can't quite see them, so you want to multiply them by some factor. This is where using the "up" arrow becomes useful. Press that precious little button and then edit the previous command to read:
diff = img2.Subtract(img1).Multiply(ice.Card(ice.constants.FLOAT, [10]))
Again, call it.AddImage() to add the new diff image to the catalog and view it.
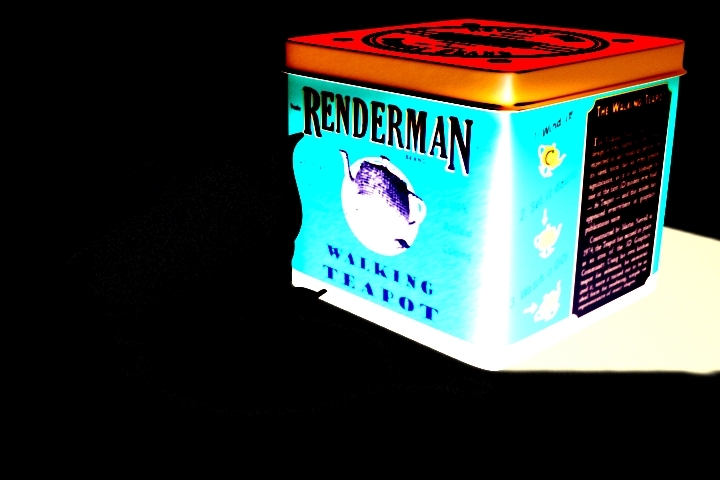
A "diff" operation, multiplied
You might be wondering what ice.Card(...) did above. The short answer is it made a special kind of ice.Image called a Card which is conceptually infinite in size and has the same value at every pixel. In this case the value of the pixels in the created card is 10.0. This is necessary as the Multiply method requires an ice.Image instance as input.
4 - SUMMARY
"it" and IceMan provide users with a seriously robust scripting language for manipulating images, without getting overly complex. Take a look at the "it" sections of the documentation for a look at the bigger picture, so to speak. Be sure to check out the IceMan Reference Guide for a complete rundown of what you can do via scripting. And don't be shy about trying out the other "it" scripting tutorials, which take you through building a Web page .
Tip
The console is a standard python interpreter; most modules, objects, functions and methods have what python programmers refer to as "doc strings". These are very useful for exploring code you are not familiar with and for reminding youself later what some object or parameter is called. For example type help(it.constants). A related python command is dir() which will print out the loaded modules. If you pass dir() a loaded module or an object it will print out any sub-modules, methods or symbols defined. Try typing dir(ice). You will see, amongst other things, all the functions available for creating ice images. You can use help() to find out what each does and thier parameters..