Global Illumination
Global Illumination
Important
This page has been updated to reflect the changes in the new shading system introduced in RMS 19. Please be sure to download the latest tutorial file package for compatibility.
To get started, let's open the Maya scene, risGI.ma.
(Where are the tutorial files?)
Global Illumination in RIS Mode
Essentially, it's almost as if Global Illumination is on by default, provided out-of-the-box in RIS mode.
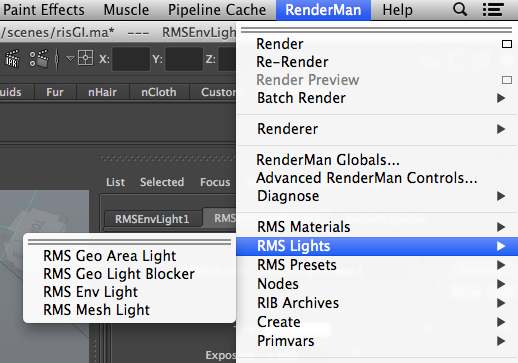
1. Add an Environment Light
You've opened our simple scene. Add an Environment Light, via the button in the RenderMan Shelf,

or the RenderMan Menu.
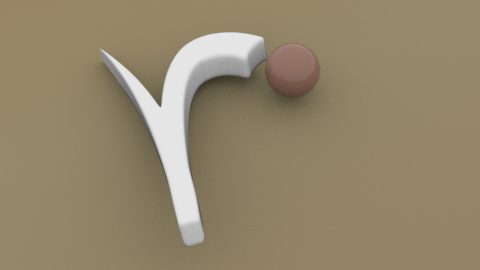
2. Render
That's it. You're done.
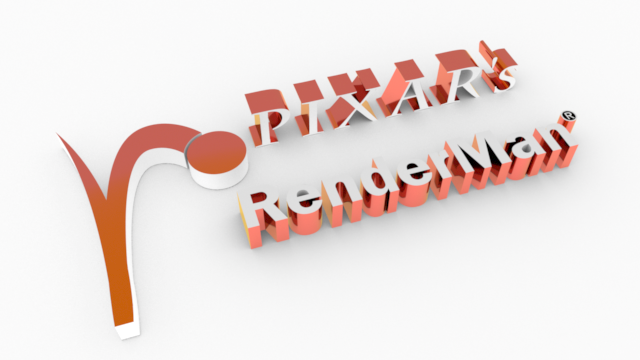
Global Illumination
Add an environment texture for Global IBI (Image-Based Illumination). The RMS Environment Light gives you control of the Tint, Exposure, Color Temperature, and both the Specular and Diffuse Contribution for fine-tuning your lighting results.
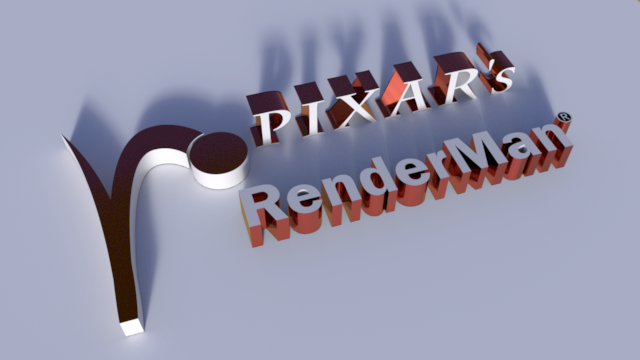
Image-Based Illumination
Global Illumination in REYES Mode
For this portion of the tutorial, open the Maya scene, rms4GI.ma.
1. Before Global Illumination
RenderMan for Maya lets you create global illumination effects in a variety of ways. Global illumination is a term that is widely used to refer to effects that create subtle soft shadows in a scene. In RMS 4, global illumination has been broken down into two separate but related components: direct global illumination, including image-based lighting (or IBL), and indirect global illumination, i.e. indirect diffuse illumination or "colorbleeding" effects. These effects are achieve with three different light nodes: the RMSEnvLight is used for direct GI, while the RMSGILight and the RMSPtcGILight are used for ray-traced and point-based indirect GI, respectively.
First, let's render the Maya scene with the default light set...
You'll get an image like the one below:
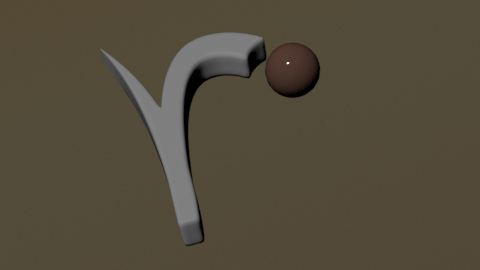
Default lighting. No global illumination effects.
2. Whither "Occlusion"?
Before RMS 4, the basic starting point for any discussion about global illumination was occlusion. The effect is the simple soft shadows created by indirect light. RMS 4 achieves this effect using area shadows, introduced in PRMan 16, created via the RMSEnvLight.
Here we should note a couple of important things about the RMSEnvLight: first, it should not be confused with the RenderMan Environment Light from prior releases, and second, it is basically a spherical area light. In that sense, what we're doing is creating soft area shadows, just like you would with a typical area light, but omni-directionally.
So, here's what we're gonna do:
Create the RMSEnvLight; this can be done eight ways to Sunday - by clicking on the Create Env Light icon in the RenderMan Shelf, by selecting Nodes->RMS Env Light from the RenderMan menu, or in Maya's Hypershade.
You can use ray-traced area shadows or area shadow maps. Back in the day, conventional wisdom held that ray-traced shadows and global illumination could be prohibitively expensive; recent improvements to the renderer have, if you'll pardon the phrase, rendered that argument more or less moot. We'll take you through both workflows, nevertheless.
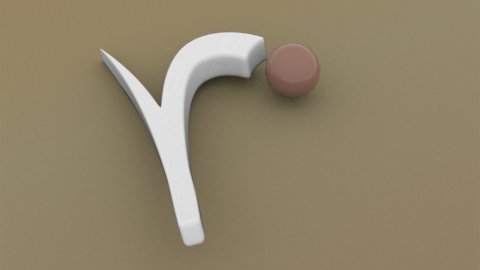
First, ray-traced, because it is the most straightforward. Once we've created out RMSEnvLight, all we need to do is turn on Ray Tracing in the RenderMan Globals, then render...

Ray-traced Area Shadows, Default Settings
As always, our default settings are designed with speed in mind, so we've got some pretty noisy results. That said, with PRMan's adaptive sampling for area shadows, we can clean up that noise with a trivial bump in the number of samples in the RMSEnvLight settings - say, to 128 - and we'll we'll incur a correspondingly trivial increase in render time. (After you increase the samples you may need to click on another parameter's field to make the setting "stick"; this is not our fault.)
Ray-traced Area Shadows, 128 Samples
Note that adaptive sampling can be turned off, via the dropdown menu. By default it is enabled, in "Conservative" mode. Users can also opt for an "Aggressive" mode.
Let's take a look at how this looks with area shadow maps.
First, still in our RMSEnvLight's settings, disable Trace Shadows. Then right-click in the Shadow Map field and select Create AreaShadow. We've left ray tracing turned on in our global settings, so our RMSGPSurface materials will retain their reflective properties, but we've created a new pass that will generate a deep texture file for our area shadows.
Looking at the pass settings, the default settings will suffice for now, but keep in mind that we can do all sorts of things here - set the pass to reuse the maps generated during a previous render, increase the quality settings for the pass or the resolution of the maps, or even select a camera or object set for the pass. Leaving all that aside for now, let's render again...
Area Shadows, Mapped
Note that this approach produces a tiny bit more noise; the Samples parameter that we used when ray tracing works for area shadow maps as well, so increasing that value will help reduce the noise. Lowering the shading rate and/or increasing Pixel Samples in our createAreaShadow pass are other options. The image below does a little of all of the above for a higher quality final image.

3. Image-Based Lighting
Image-Based Lighting/Illumination (IBL or IBI, depending on whether you are left- or right-brain dominant (LBD or RBD)) is also achieved with the RMSEnvLight, and it couldn't be simpler. Over by the Environment Image field, click on the folder icon and browse to the environment map of your choice. Image-based illumination can use many kinds of image formats. RenderMan for Maya supports both high dynamic range images (HDRI) and normal images. Here's the environment map we'll use in this scene (the fin4_Env.exr image in the /sourceimages/HDRI_library directory of our project):
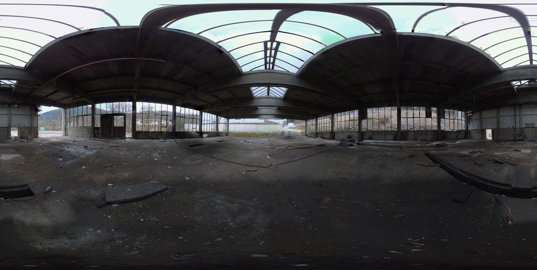
Our Environment Map
And that's it. Hit render and everything we've set up already gets the job done. For the image below, we've gone back to a ray-traced workflow, which means that we broke the connection to the createAreaShadow pass, disabled that pass in the RenderMan Controls, and, for good measure, deleted the deep texture file - rms4GI_rmanAreaShadowPass.0178.dtex - that was created in our project's /renderman/rms4GI/data/0178/ directory.
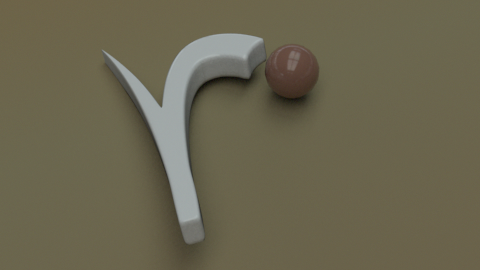
You'll notice that the environment has resulted in a slightly darker scene, which is to be expected and, being the "real" result, probably desired. You can, however, affect the final lighting further by increasing the EnvLight's intensity, tint, and even its specular and diffuse contributions, which we'll discuss a little bit further below.
4. A.K.A. Colorbleeding
The other component of Global Illumination is the indirect diffuse lighting, sometimes referred to as colorbleeding. RMS creates indirect illumination effects via the RMSGILight.
Although this division of labor may seem initially confusing, particularly if you are used to the older RfM/RMS workflow, upon further consideration it is not only reasonable, it's crucial for PRMan's improved ray tracing performance - dividing these operations up enables improved caching, implementation of the new shader pipeline methods, and the elimination of extraneous calculations.
So, let's get this thing set up.
First, let's un-hide some simple geometry that we've created to approximate a Cornell-like box in our scene. In Maya's Layer Editor, turn on visibility for the color_bleeder layer. Here we have a few very diffuse cubes in red, white, and blue. We've added a bit of incandescence to them to make the effect very apparent.
Next, create our RMSGILight - via the RenderMan Shelf icon (look for the Cornell Box), the RenderMan Menu, or Maya's Hypershade.
And render...
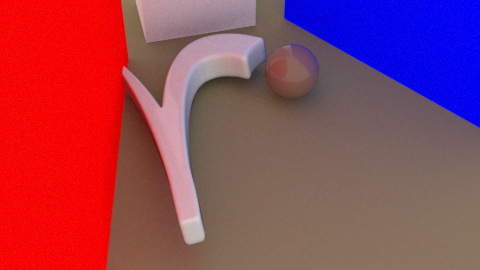
"Color Bleeding"
That was simple enough, no?
Before we go to the next step, turn off the visibility of the color_bleeder layer, since we won't be needing it any more.
Well, let's tweak, shall we? In terms of quality, the key settings are the Samples, just like with the EnvLight, and Max Variation. Generally you may want to adjust the two in tandem, keeping in mind that lower variation and higher samples both carry computational costs. Note that the renderer will let you know if your settings are incompatible. Multiple bounces of illumination are enabled by increasing the Max Bounces, but note that each bounce does add to the computational expense - 2 or 3 bounces at most will generally suffice.
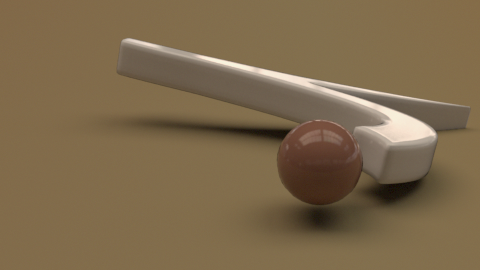
As we mentioned above, the EnvLight that we're using in conjunction with the GILight gives us control over its strength, tint, and its specular and diffuse contributions. Let's say we think using IBI ended up a little dark for what we want, and maybe we want a romantic, rosy cast to the light, and, on second thought, maybe the specular is "popping" a bit too much. For the image below we increased the intensity by setting Scale Intensity to 0.65, chose a pale pinkish yellow (or is it a yellowish pink?) for the tint color, and lowered the Specular Contribution to 0.7. We've also bumped up our quality settings, increasing the GILight Samples to 512 and Max Bounces to 3, and we rotated the environment image, just because.

Multi-bounce, image-based color bleeding, with cheese
One more time, after rolling and tumbling the camera for a different perspective...
5. But... I Fear Change
Now's a good time to talk about the rules.
These new techniques are intended to give you better global illumination results, faster. The various components work together; they rely on their inherent compatibility to work. You can't use Maya Materials or legacy Slim shaders with the new RMS lights. You can't use RenderMan for Maya's GP nodes in Maya or Slim with the old RenderMan Environment Light. You can use Maya's direct lights (Spot, Point, etc.) with the GP nodes.
BUT... the old methods do work on their own; you can still use Maya Materials and Slim's AP shaders together, and you can use the old RenderMan Environment Light to create global illumination effects just like you did in RMS 3/RfM 4. The RenderMan Environment Light can be created from the RenderMan menu - it is the RenderMan Env Light, rather than the RMS Env Light, under Nodes. The AllPurpose "template suite" can be re-enabled in Slim 10 via the RMS.ini with the TemplateSuite preference, like so:
SetPref TemplateSuite {allPurpose}
[As always, we strongly discourage editing the factory .ini files; please set this pref via a site-specific custom RMS.ini file referenced via an RMS_SCRIPT_PATHS variable.]
We'd like to think you'll be happier with the fancy new stuff, though.