Denoise Workflow
Denoise Workflow
Using Denoise
Denoise Comparison
The Denoise feature in Houdini is not automatically applied in this first release. However, there is a simple way to create the AOVs required for Denoising using the command line Denoise Tool.
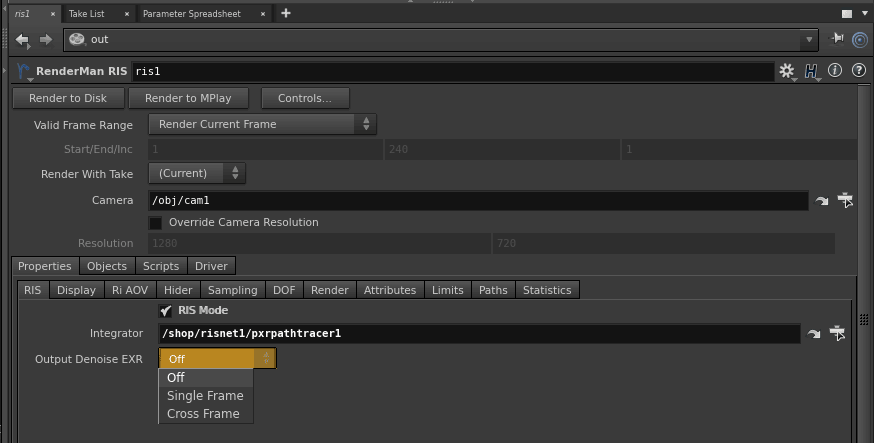
Selecting the above option causes the required AOVs to be output and stored inside the resulting multi-channel EXR image.
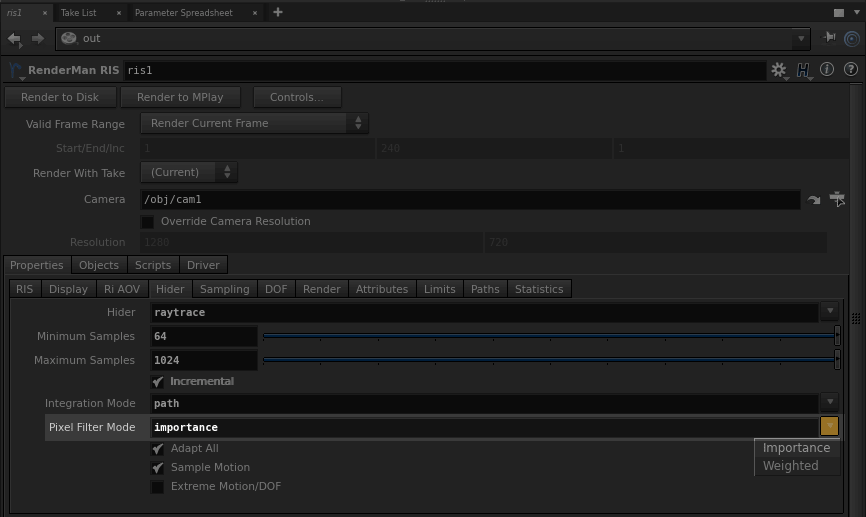
Additionally you must remember to set the Pixel Filter Mode to importance under the Hider tab of the RIS Output Node. If this is not set manually you may introduce artifacts during the denoise process.
Tip:
It's important to use the volume filter on images containing isolated volume elements or you may introduce more noise into the filtered image using the default filter. This filter preset is included with the Denoise Tool.
volume.filter.json
Used for volumes rendered alone onto transparent black.
For users wanting to output AOVs for Denoising manually (for the purpose of rendering separate EXRs and not a multi-channel EXR), you can find the AOV information on the Denoise page. Keep in mind the Denoise Tool requires a multi-channel EXR to work.

Raw Render
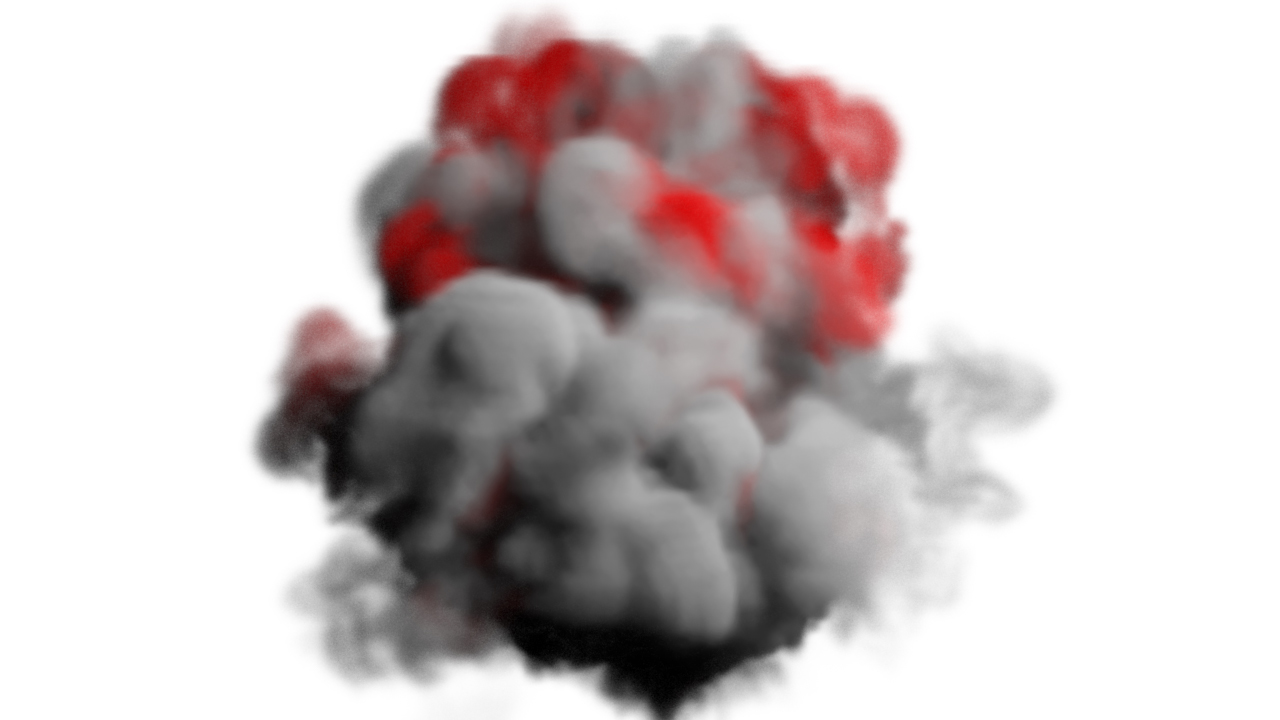
Denoised Render
Enlarged here for more details.

Raw Render |
Denoised |