Sampling
Sampling
Because sampling is so crucial to rendering images, prman offers many different modes and settings to control it. Each pixel will normally be sampled multiple times (i.e., super sampling), and the pixels can be sampled in almost any order.
In general, the primary setting for controlling sampling is maxsamples. By default, minsamples is computed from the square root of that value. When pixelvariance is greater than zero, adaptive sampling is enabled. Users can then tune the aggressiveness of the adaptivity by increasing pixelvariance. However, if you set minsamples equal to maxsamples, the sampling is fixed and is no longer adaptive.
One of the biggest choices for sampling is whether to use incremental or non-incremental mode. In non-incremental mode, the renderer essentially visits each pixel once and computes all of the samples for it in one go. Small batches of pixels are worked on together and several of these batches may be done in parallel on multi-core machines. Nonetheless, when a given pixel is finally displayed it is showing the finished result. This is the traditional rendering mode; if rendered to a framebuffer the image starts out all black and then appears to fill in tile-by-tile until the render is done.
Incremental Mode
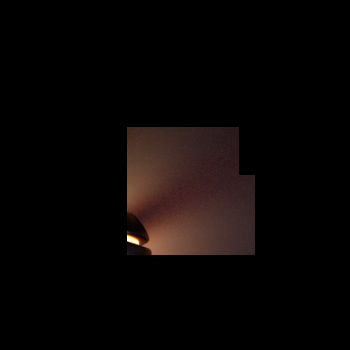
Non-incremental render at 20% complete |
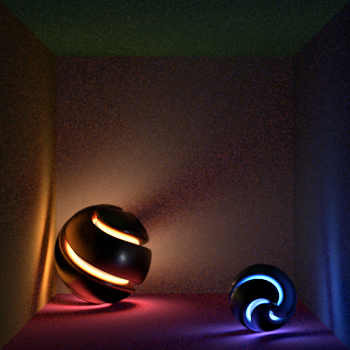
Incremental render at 20% complete |
Incremental mode is the newer alternative. Here, the renderer goes round-robin and visits every pixel in the image, computing a single sample for each. Then it visits each pixel again and computes a second sample, etc. This goes until it has visited each pixel the expected number of times. When displayed to a framebuffer the entire image appears swiftly in a rough and noisy form which then refines bit by bit over time. This allows one to get a quick sense of how the final image will look and to cancel it if it becomes clear that adjustments are needed. However, the total render time may be longer. Also, some renderer settings (e.g., PxrVCM) may require this mode.
Fixed vs. Adaptive Sampling
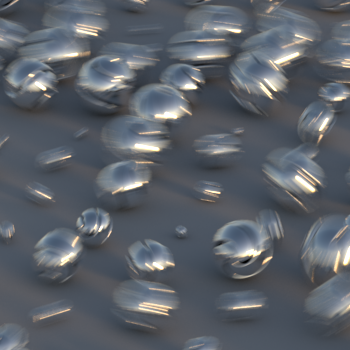
Fixed sampling, 2048 max samples |

Adaptive sampling, 2048 max samples, 1248 actual avg. |
With respect to the samples within each pixel, the other major choice is fixed vs. adaptive sampling. Of these, fixed sampling is the simpler approach; the renderer is given a maximum number of samples per pixel and it renders until it has computed that many. For incremental mode, this means its the number of passes that it will take over the image to refine it. Sample numbers that are powers of two tend to give lesser image variance than other numbers -- for example, 256 is usually better than 257 or even 280.
The other choice, adaptive sampling, is slightly trickier but may be able to speed up renders significantly. For this method, the render is given a maximum number of samples per pixel, as with fixed sampling, and also a minimum number of samples and variance threshold. Each pixel will be sampled any number of times between these two bounds. As each sample is added to a pixel the renderer looks to see how much the sample changes the pixel. If enough samples are added without changing the pixel much, the renderer stops sampling it. The variance setting controls the threshold for how little subsequent samples change the pixel (i.e., lower values cause more samples and longer renders), while the minimum sample count helps to control the confidence that this threshold has been achieved (i.e., higher values cause more samples). Of these three settings, only the maximum number of samples is required to be given; if unspecified the minimum samples and the variance will have reasonable defaults based on the maximum sample count.
Additional Considerations
There are three other options that control sampling: bucket order and size, and crop windows. The bucket options control the size of the batches of pixels and the order that they're visited in. The default is to go in swaths from left-to-right and top-to-bottom. The spiral order is a useful alternative when rendering to a framebuffer as it normally shows the center of the image first.
Crop windows restrict rendering to the pixels in a portion of the image. This can be useful to focus on a particular region during an interactive render, or to render poster-sized images piece-by-piece.