Simple LM Layering
Simple LM Layering
Note
The Maya scene file for this example - simpleLMLayering.ma - is included with the RMS Tutorials bundle.
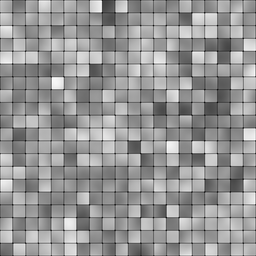
This scene shows off a number useful, basic techniques for making good pictures. There's a single, layered material (LMLayer over LMDiffuse) using simple textures drive the color and displacement to create a bit of a plastic tile-setting nightmare...
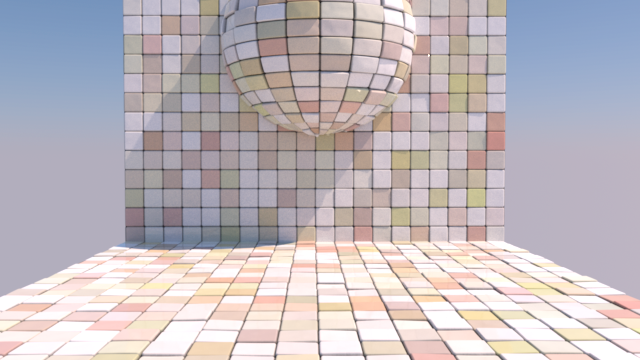
LMLayer over LMDiffuse, with PxrBump and RMSDisplacement
The geometry is just two planes and a sphere, using a single shading network. The scene is lit by a geometric environment light using a procedural (RSL) sky shader (rmanDayLight), which can be found in the Textures section of the RenderManReyes nodes, accessed via the node picker, Hypershade, etc. For this scene we're using the sky shader's Late Morning preset.
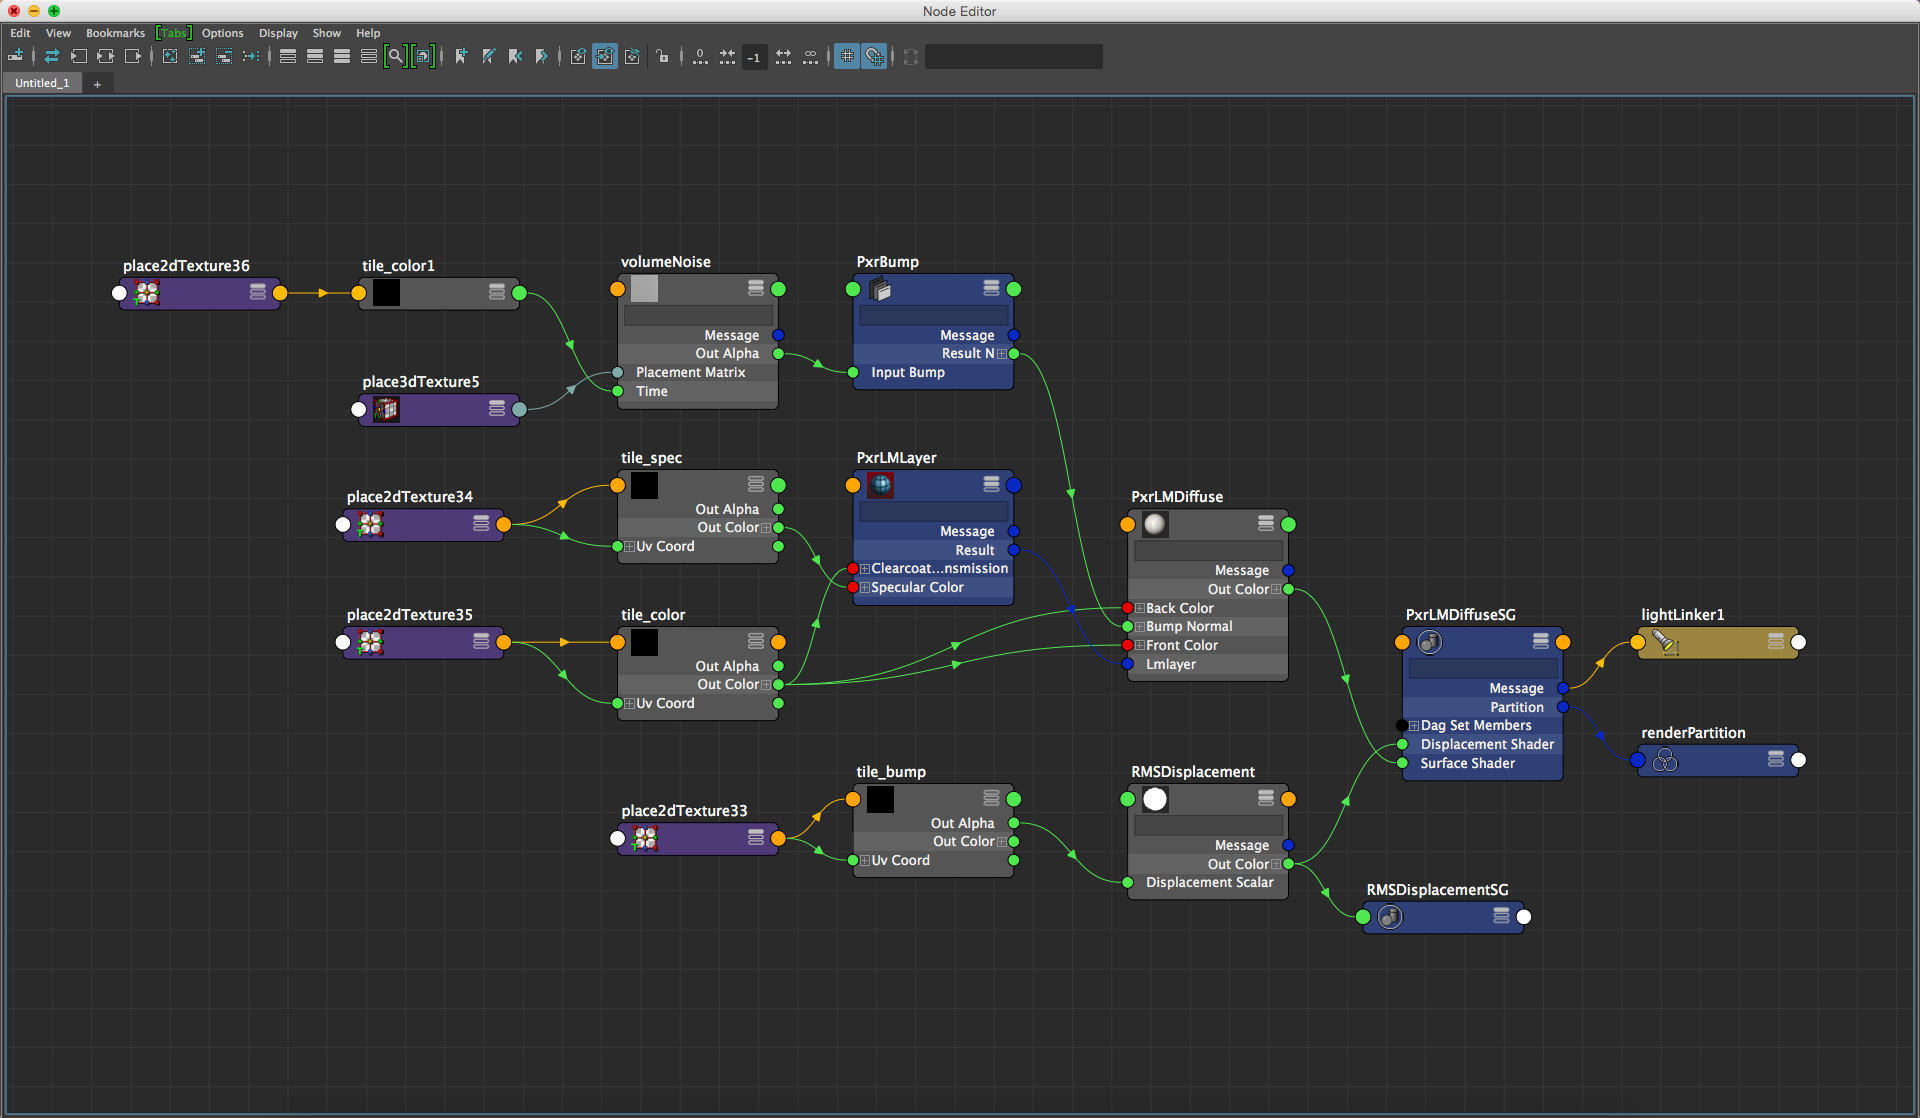
The PxrLMDiffuse Shading Network Graph
The shading network starts with LMDiffuse. The Front Color is connected to a simple texture map via a Maya File node. Bump Normal does something a little tricky to add a little secondary bump to the tiles: it's connected to a PxrBump node that takes a Maya VolumeNoise as its input (generating Perlin noise), using the same texture map (tile-color.tif) to drive the Time parameter. The Scale parameters of both the PxrBump and VolumeNoise nodes are manipulated to achieve the desired look, as is the noise's Frequency.
The LMDiffuse's Overlay is connected to a LMLayer to add the Specular lobe, which is, again, driven by a texture, and a Clear Coat that adds Thickness (the Clear Coat's Transmission is also texture-driven). The LMLayer's Diffuse lobe is disabled - the diffuse response comes from the underlying LMDiffuse node.
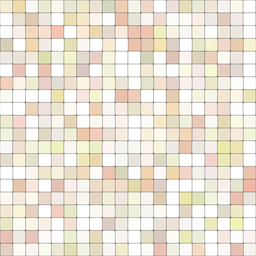
Color |
Specular |
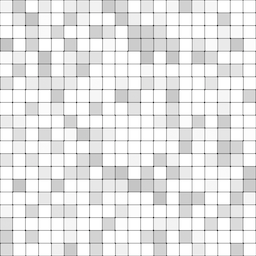
Bump |
Important
A couple things to remember about displacements:
In RIS mode, Trace Displacements is on, globally, by default. Users can add Trace Displacements as a RenderMan Attribute to any object, allowing them to change the behavior. There are three settings for Trace Displacements:
None - displacement will be disregarded.
All - the surface will be displaced before ray-primitive intersection tests.
Fine - the surface will only be displaced when near the ray origin or when the ray differential is narrow.
Shading Rate does not affect your overall image quality in RIS mode, but it does affect tessellation rates and displacement quality. As always, use it wisely.
The displacement is done by connecting an RMSDisplacement node in the Displacement slot of the PxrLMDiffuse1SG shading group. The Displacement Mode is Scalar, and the tile-bump.tif texture is connected to the Scalar Displacement parameter via a Maya File node. The Shading Rate, Displacement Bound, and Displacement Amount have been adjusted to achieve the desired look and displacement quality.
Note
The layered material in this example is, essentially, a more complicated way to do the same thing that PxrLMPlastic does on its own. Although this example does provide some additional control over the diffuse color, it is presented here primarily as an illustration.