Tutorials
|
Making a Self Protrait
November 13, 2025
Created and written by Ashe Daniel.
Edited by Baptiste Lebouc and Leif Pedersen.
Ashe Daniel developed a photorealistic self portrait under the tutelage of Baptiste Lebouc, Head of CGI at ESMA Lyon, as course work for her Master’s degree, and she’s here to share her unique approach to photorealistic skin rendering with RenderMan for Maya.
Achieving a true human likeness in CG is one of the hardest things an artist can do, mostly because we are really good judges of what makes a convincing human. Our brains are wired to recognise when something is even remotely “uncanny,” as we spend most of our lives looking at faces, after all. Making a digital self portrait adds a new layer of complexity and scrutiny to our work, as we’ve got to battle between how others perceive us and how we perceive ourselves.
In the project files, you'll find four different light rigs which will give you a great starting point to play around with creative looks.
The modeling process on a digital double carries a lot of weight on how believable the final product will be. If you don’t hit the right landmarks, a subpar model could make or break the realism.
It was important to follow photogrammetry industry standards for this project, in order to maximize time and get closer to a clean result. Photogrammetry is the process of taking multiple photos from different angles and compiling them in the 3D software of your choice to create a rough point cloud model.
Nowadays some phones offer a decent result, but thankfully I was able to generate high quality images with access to a professional camera on the university campus. With these images, I successfully used Metashape to output a model from my scan.
Alice Vision/Meshroom, and 3DF Zephyr are also great scanning softwares you can explore.
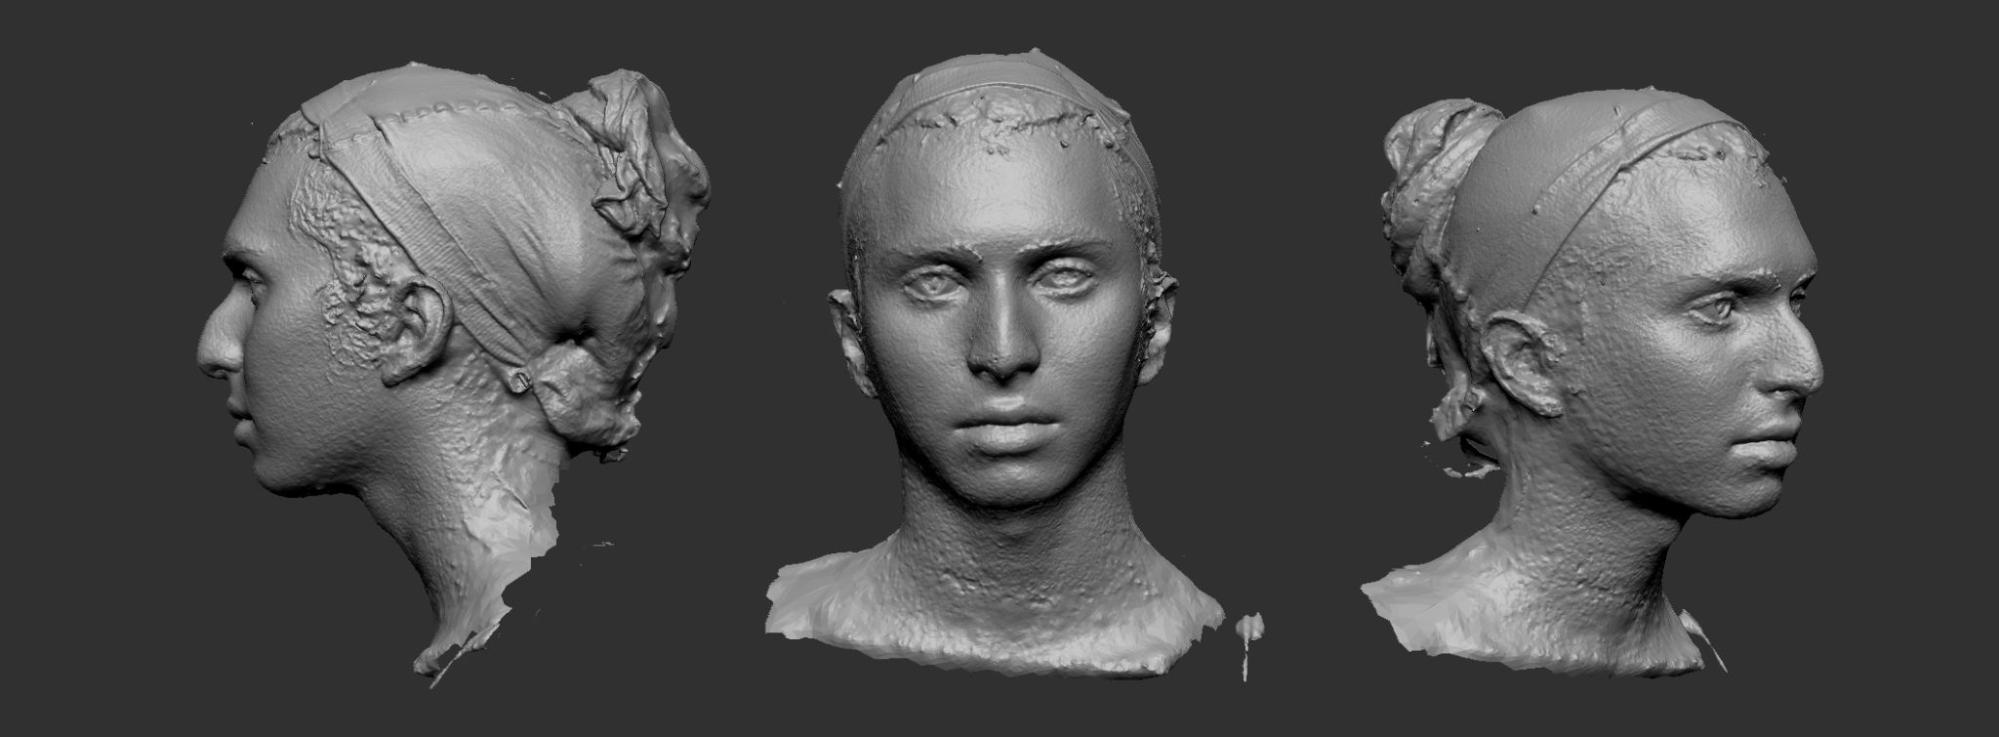
Raw scan 3D model
The 3D model of my photogrammetry was not perfect by any means, but it resulted in a good base to start, especially as the project scope was limited to the face, and not the entire head.
The first layer of refinement was Zbrush, in order to clean up any artifacts that the scan data might have output.
Next came retopology, or rather wrapping the mesh. The process essentially involves placing points on a target mesh with the geometry you desire and wrapping it over your mesh with unsuitable topology. RD3DS is a popular software for accomplishing this, as well as a few plugins in Zbrush and Maya.
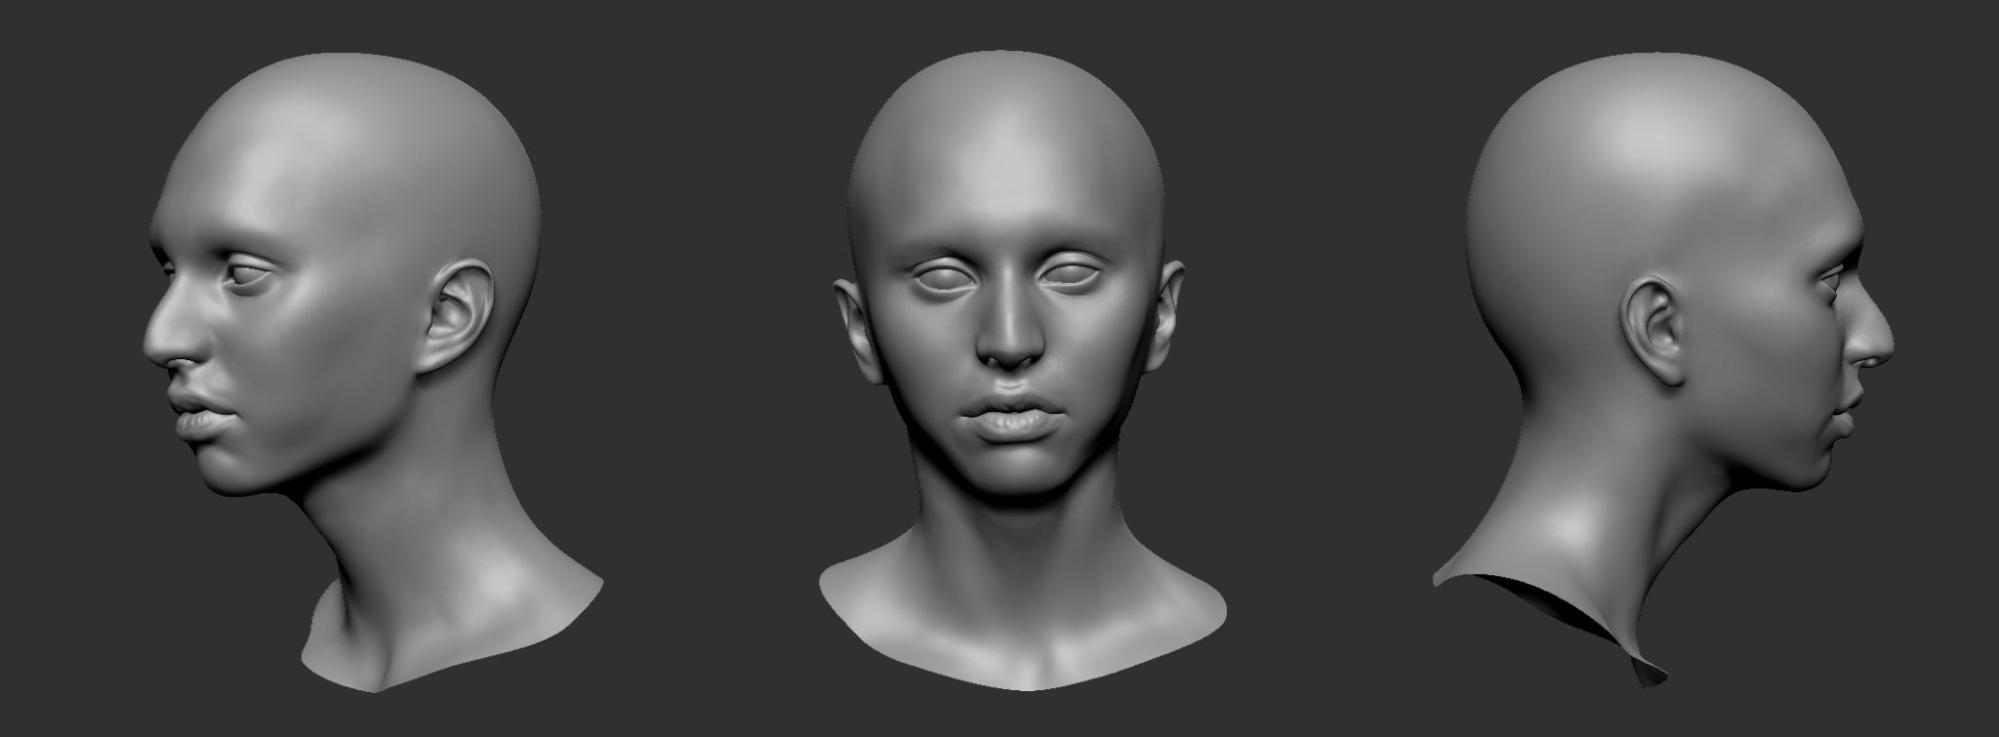
Retopologized/projected scan model
Very importantly, a skull was used to block the distance by which subsurface scattering would penetrate the skin rather than relying only on texture maps to achieve this effect, so a precisely shaped skull mesh was made to fit the contours of my digital head. The skull shape as a blocker gives great results even when not super geometrically accurate, so there wasn’t a ton of time needed on this step.
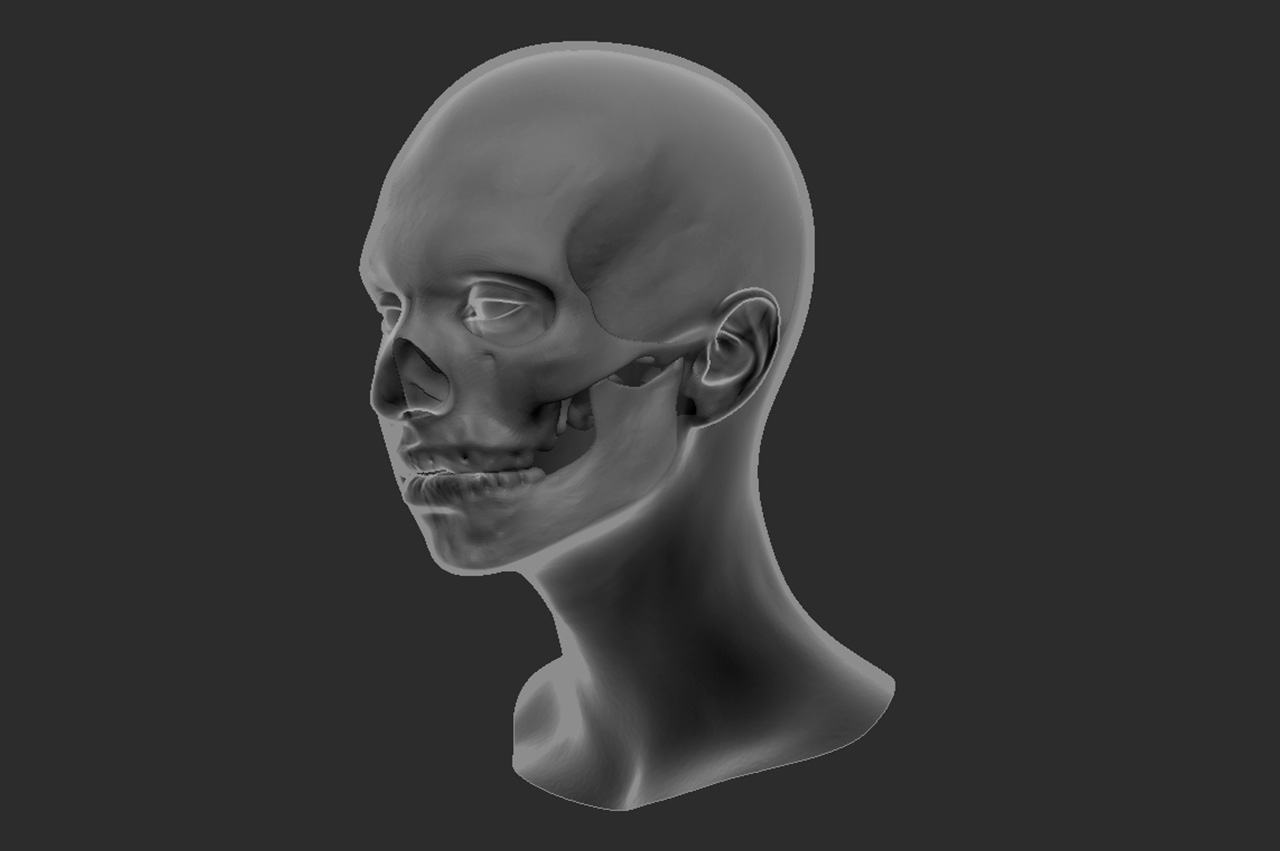
Skull blocking geometry inside of head
The eyes, however, were quite the time sink! The setup was based on research and resources shared by Michael Cauchi. His volume shaded eye setup allowed for some very good caustics and light penetration, but relied heavily on the modeling and needed to be accurate to the millimeter for the setup to work.
The most common methods of modeling eyes use between 2-3 meshes. The final setup for this project was slightly closer to a medical accurate standard and used between 5-6.
It’s best to leave the intricacies of modeling eyes to Mike himself, as he is far more qualified to show how everything works and why. Check out his Artstation for more info >
Funnily enough I had an MRI taken earlier this year which had my exact eye shape on it, I used it to model a few of the outer layers.
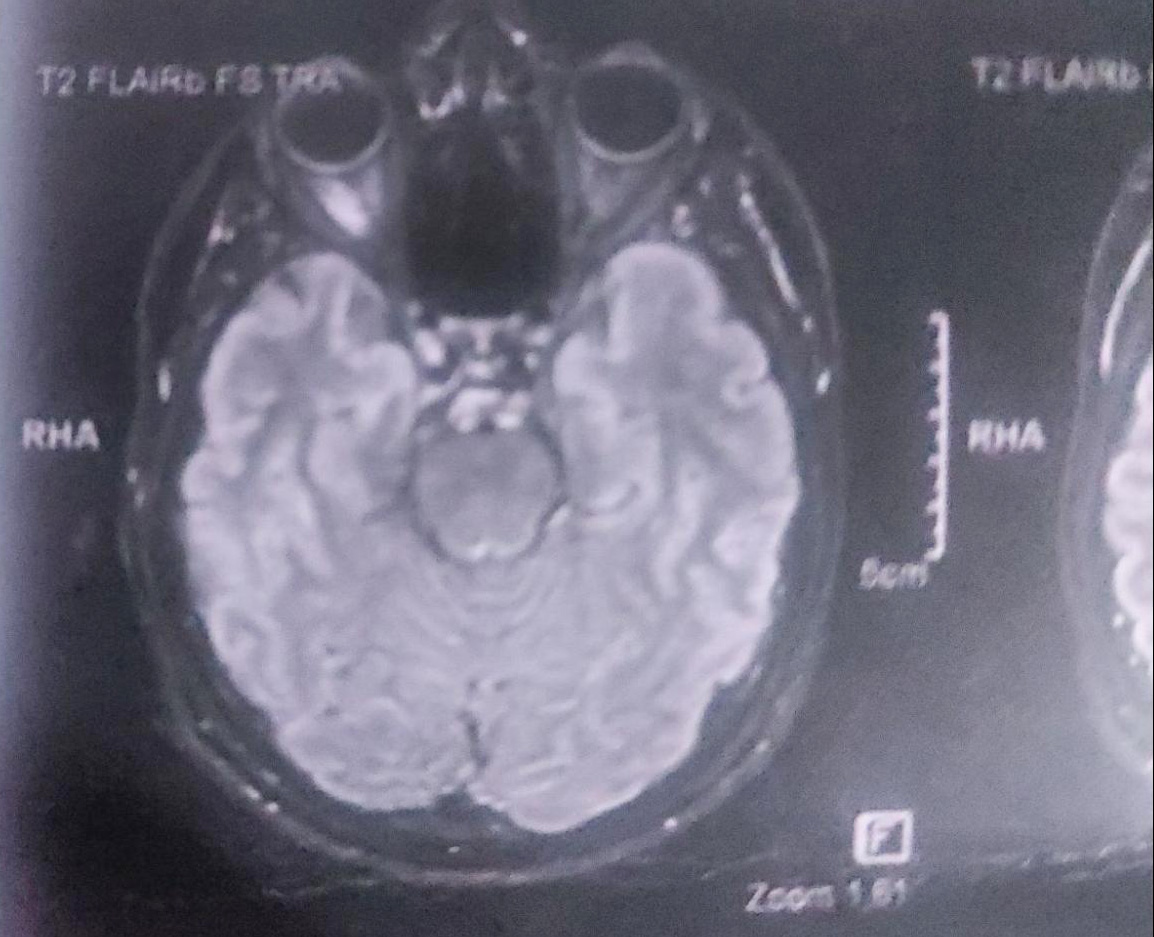
Above is an xray view of my final head model + the skull inside it as well as the MRI I used as a reference for modeling the eyes.
TIPS
The textures for my skin were taken at another photo session with multiple angles (similar to the photogrammetry) but this time with a more complex setup to receive raw textures.
The process included using a filter for cross polarisation, which is a very complex phenomenon, but in essence it uses filters on both the camera and the lights to remove specular information. Here’s a link to a larger project done with a photogrammetry rig that shows the process of cross polarization in more detail >
After a few edits in photoshop, a single texture map was generated, which was then projected in Foundry Mari.
Above is the result of the cross polarized images that were edited in photoshop to combine different angles of my face into one image that could then be projected
As far as displacement maps go, a combination of texture maps from different sources were used to roughly recreate my own skin displacement. Ideally, using information gathered in the shoots would have been ideal, but the quality of the images wasn’t high enough for micro displacement fidelity, especially in comparison to professionally scanned textures online these days.

Displacement texture maps
With my maps ready, I jumped into Foundry’s Mari to project the images onto my model. I primarily use the nodal system in Mari and kept going back and forth between Mari and RenderMan for Maya to do test renders with a basic studio lighting setup.
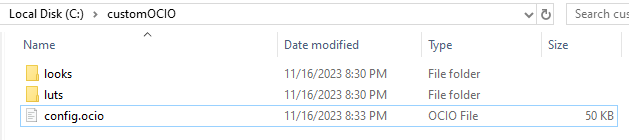
The ACES color management workflow was used for all textures in order to achieve that additional color vibrance and fidelity afforded by the wider ACES color primaries. This also meant setting up a custom OCIO configuration file between Mari and RenderMan to ensure consistency.
Within their default templates (at the time) Renderman and Mari use different configurations of the aces colour management workflow. So my “custom ocio” was just an edited version of a “config.ocio” file to bridge the differences, that I then referenced to both RenderMan and Mari.
TIPS
During the shading process it became evident how powerful RenderMan is as a creative tool. Being tried and tested by industry veterans, RenderMan has a backbone for very complex processes that offer incredible results.
To understand skin shading, I spent a considerable amount of time reading up on the functionality of subsurface scattering. Following my research, I landed on using the Non-Exponential Pathtraced model in the PxrSurface material for my shading. While render times for subsurface scattering are usually long, darker skin tones benefit from faster computing, as there is less absorption. Using the Pathtraced SSS model also allowed me to take advantage of the interior skull blocker and teeth geometry for added realism.
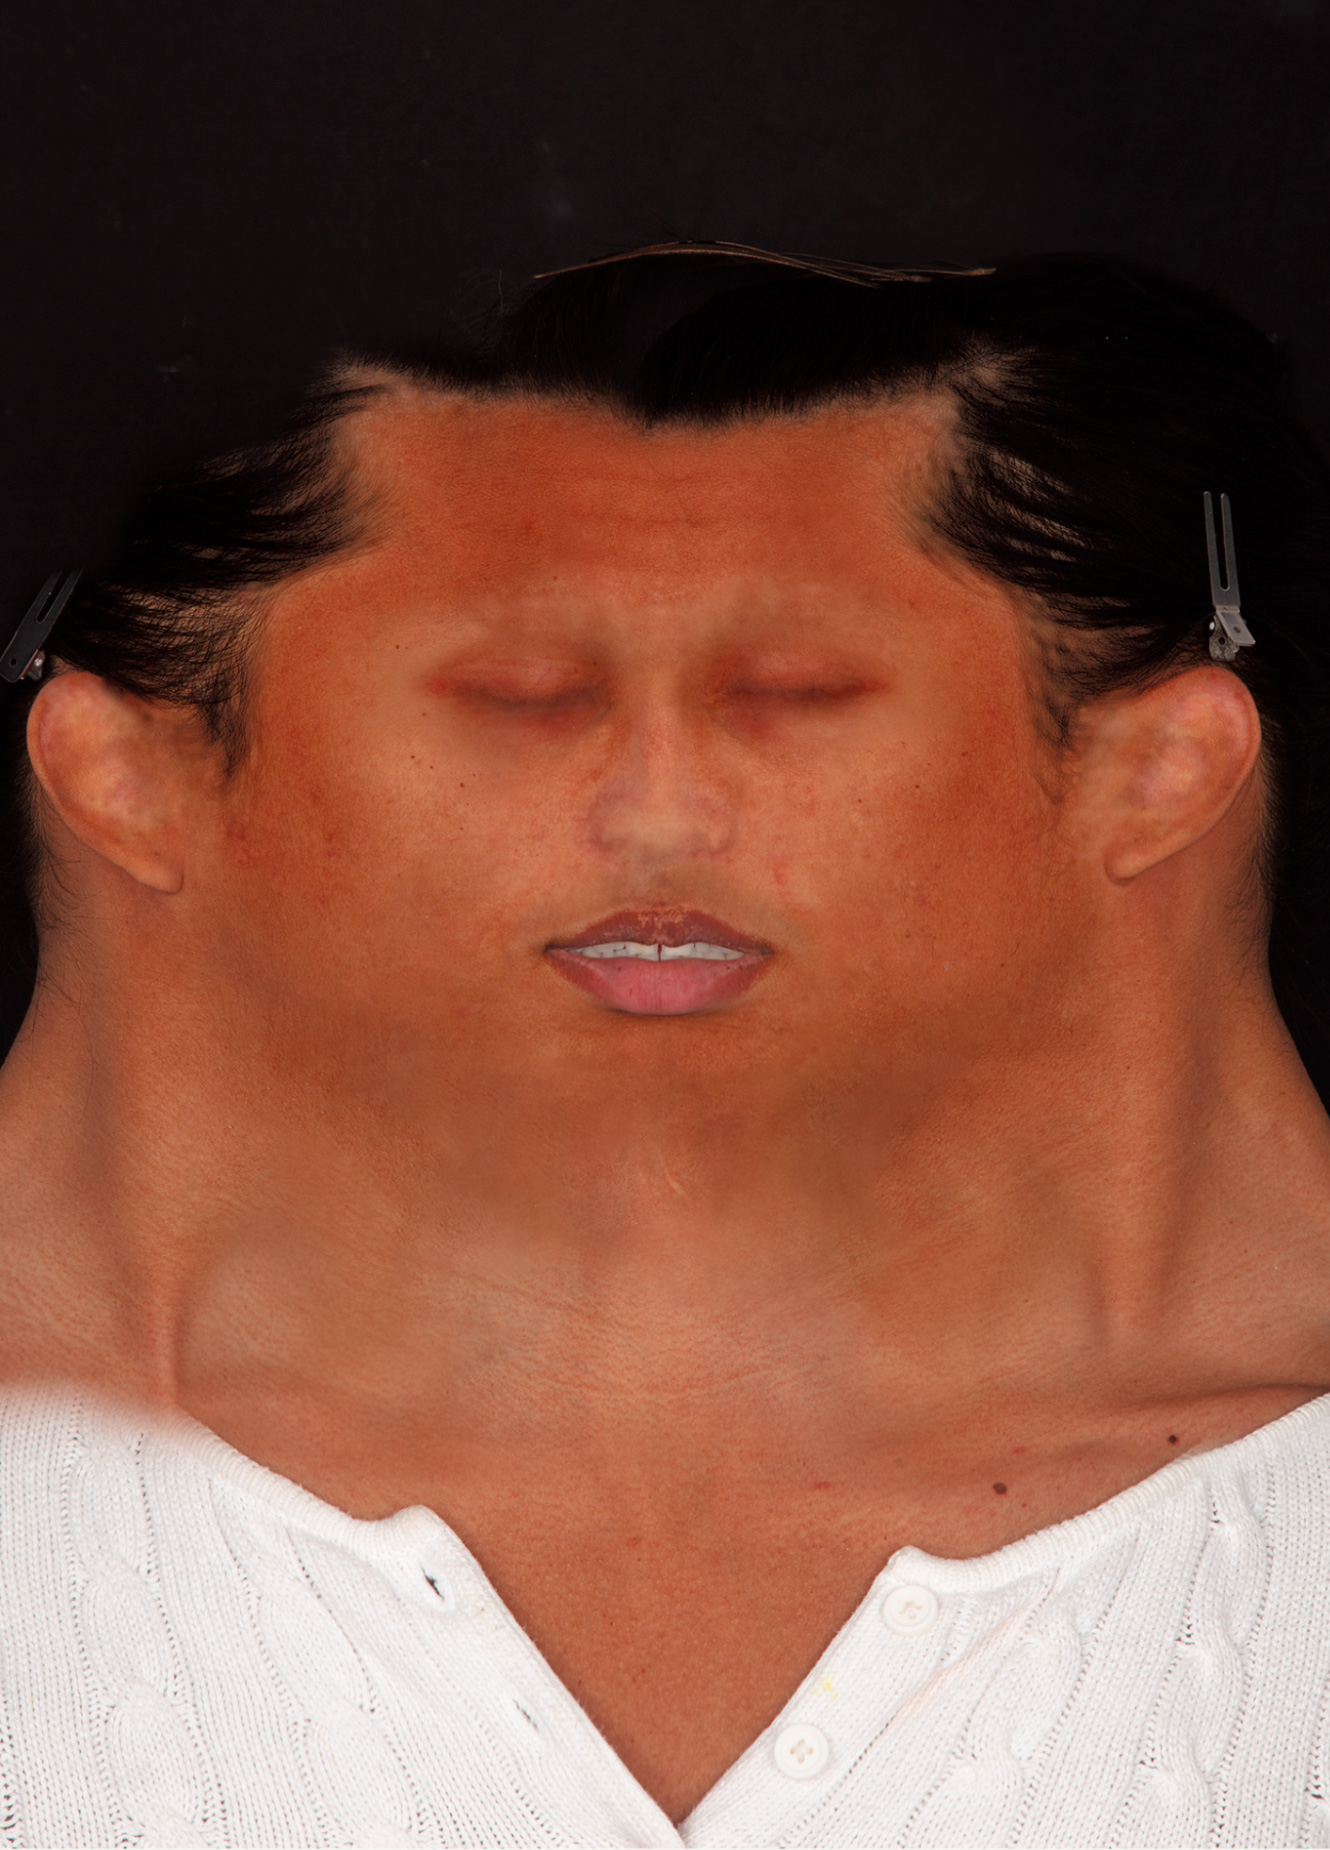
Exaggerated scattering values showcase how the interior skull blocker reduces the exiting of red wavelengths to limit the dreaded green SSS tint.
Because RenderMan uses an inverse albedo algorithm for subsurface scattering, I can rely on the Subsurface Color to give me a very accurate representation of my texture, while the DMFP Color can be significantly more saturated to simulate blood vessels. The later relies on simulating wavelengths of light on a per-channel basis, so each channel in the image represents a distance in scene units.
These choices are especially noticeable when lighting produces significant backscattering in thinner areas, such as the ears.
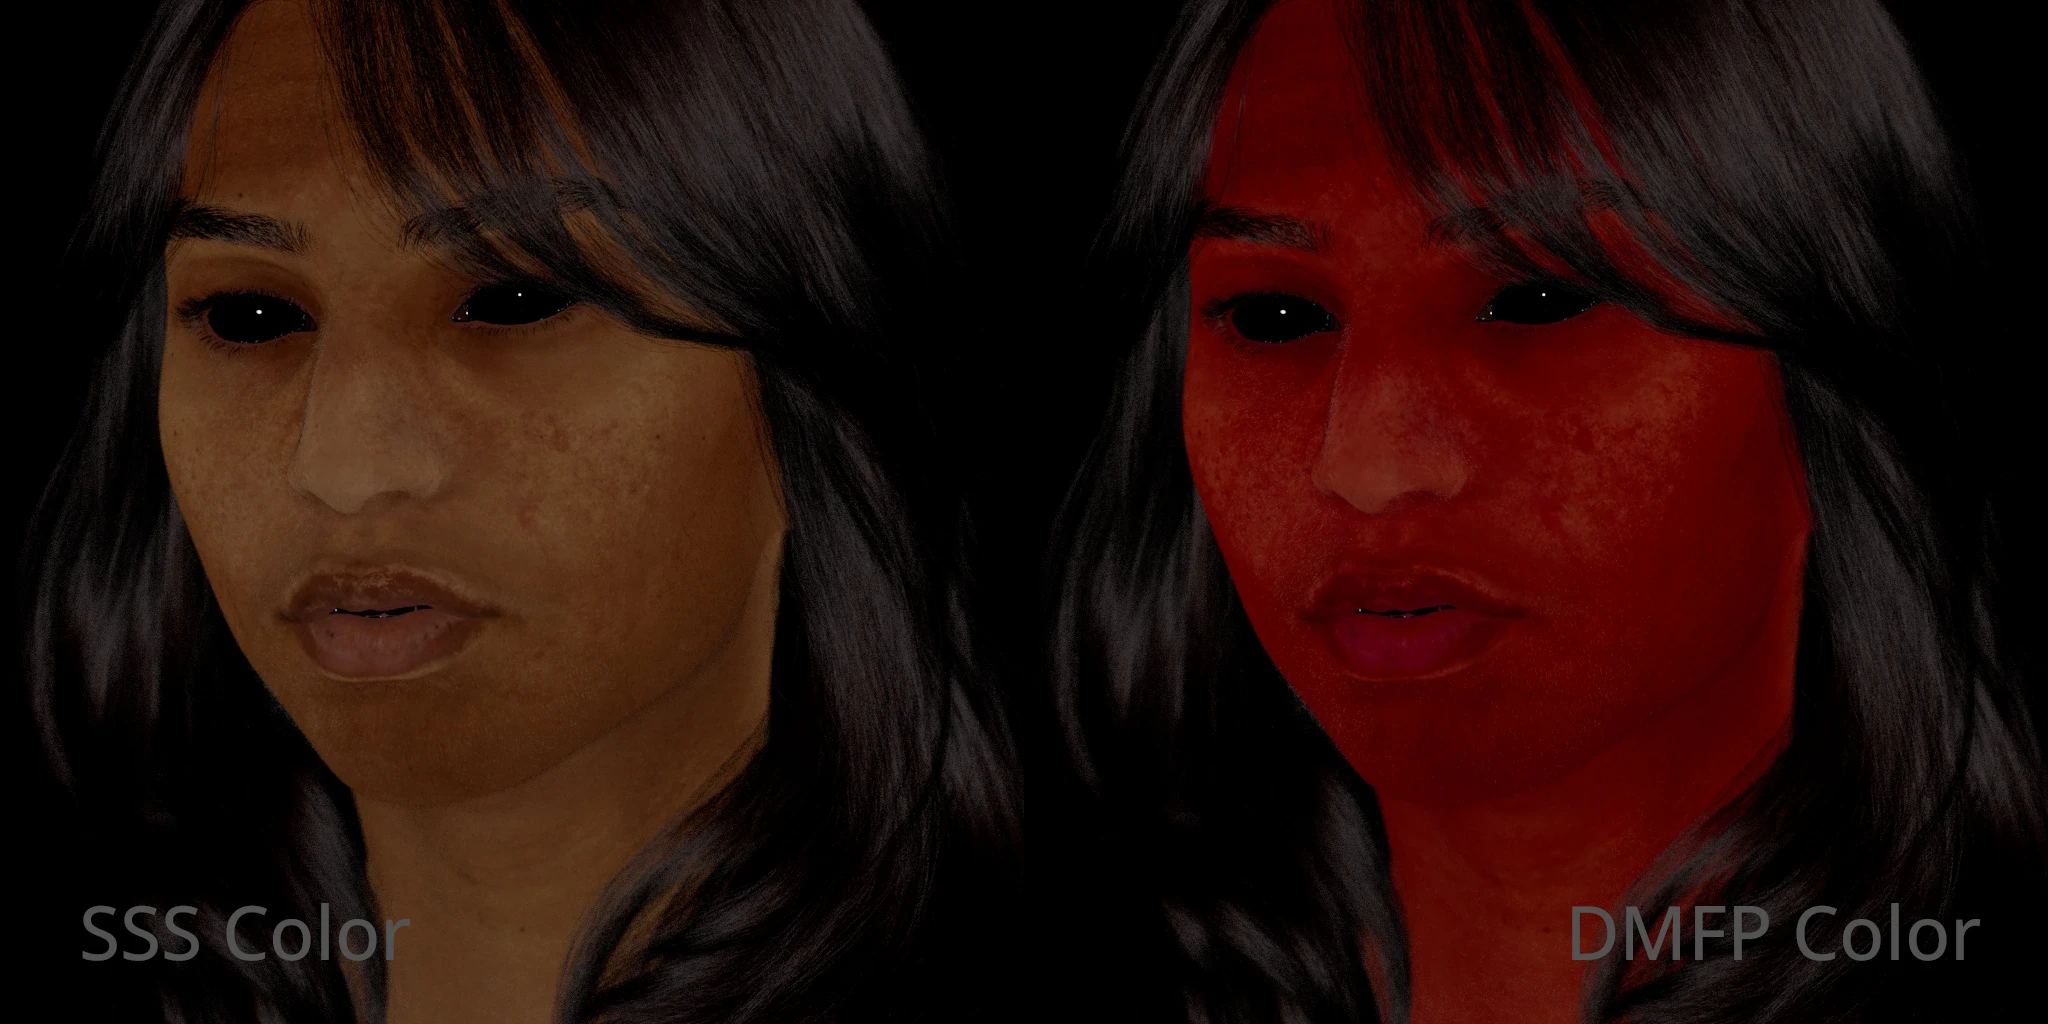
SSS color can be more representative of the skin, while DMFP color is used to simulate the wavelength distances.
Another important factor is the SSS Depth, which serves as a multiplier for the DMFP color above. This is based on scene size, so make sure to model the head to size if you expect plausible results.
The asset is reasonably accurate, but not perfectly, so we've taken some freedoms with the depth and increased it a bit to get a slightly more vibrant skin ... I settled around a depth of 20.
SSS Depth serves as a multiplier for the DMFP color
As a rule of thumb, it’s good to attach a color corrector, such as PxrColorCorrect, before plugging any color information into the material. Remapping the displacement maps, using a PxrRemap for example, is also very useful, as this helps us control the texture map values without having to exit to another program for edits.
Displacement shading was done first, utilizing multi-channel maps to drive primary, secondary, and tertiary details on my face using the R,G, and B channels.
From base mesh to tertiary displacement
While it is common practice to divide these into displacement, bump, and specular respectively, it was best to forego the use of bump in this project as it resulted in unappealing results on grazing angles. To magnify small details, two specular lobes were used instead.
This meant that the two specular lobes contributed to different amounts of specular in varying parts of the face which offers much more control. Rough specular and the main specular worked well for this, although using the clearcoat lobe is also a common use case.
The secondary details such as pores and large wrinkles (G channel) were used to drive the first specular lobe roughness, while the tertiary detail maps (B channel) such as interpore connections and micro details were used to drive the second specular roughness lobe.
Subtracting specular in certain areas (inside pores and wrinkles for example) became a good practice, in order to have more control over how prevalent the details would be, by inverting the maps and subtracting them from the specular control stream with a PxrBlendColors pattern.
Reducing specular by inverting maps
A series of RGB masks were also used to separate regions of the face, which allowed for even more control over the specular values. You’ll notice how certain areas like the T-Zone (nose and forehead) have a much higher build up of oils on the face in comparison to the jaw for example.
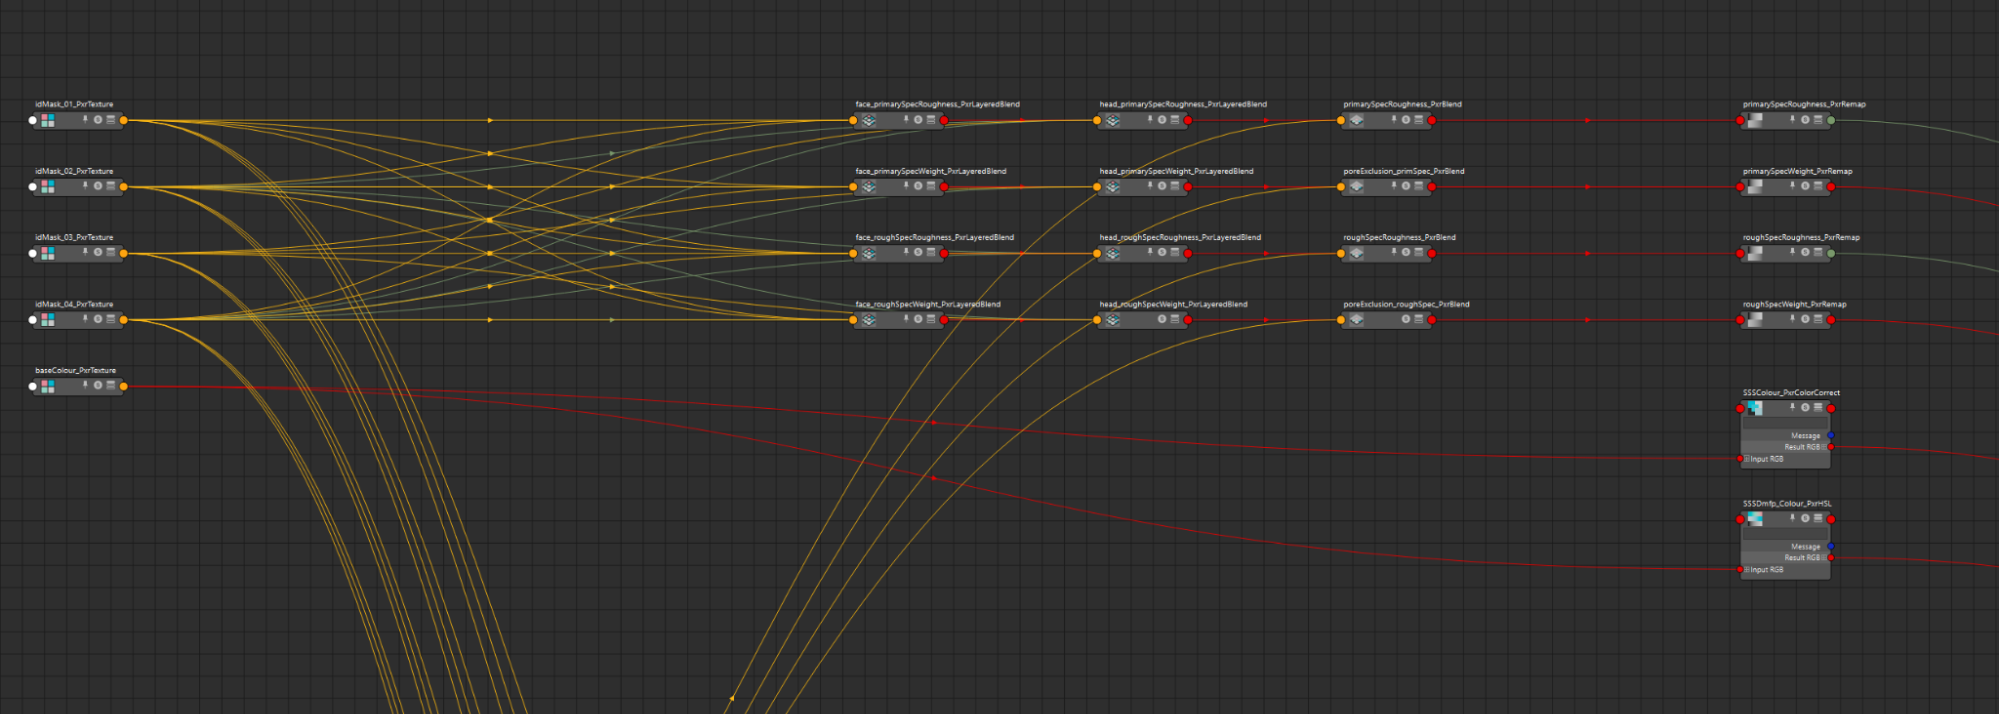
RenderMan for Maya shading network
The albedo/diffuse textures output from Mari drive the subsurface color, which inform the inverse albedo algorithm for RenderMan’s subsurface. The same texture was also used for the Mean Free Path Color, which informs RenderMan how deep the SSS effect goes, described in R, G, B wavelengths.
For added control, the mean free path color was edited to have a much darker red appearance, which helped dial in how deep the light scattered in the skin without having to go to an external image editor.
Subsurface scattering after manipulating the texture maps in RenderMan
TIPS
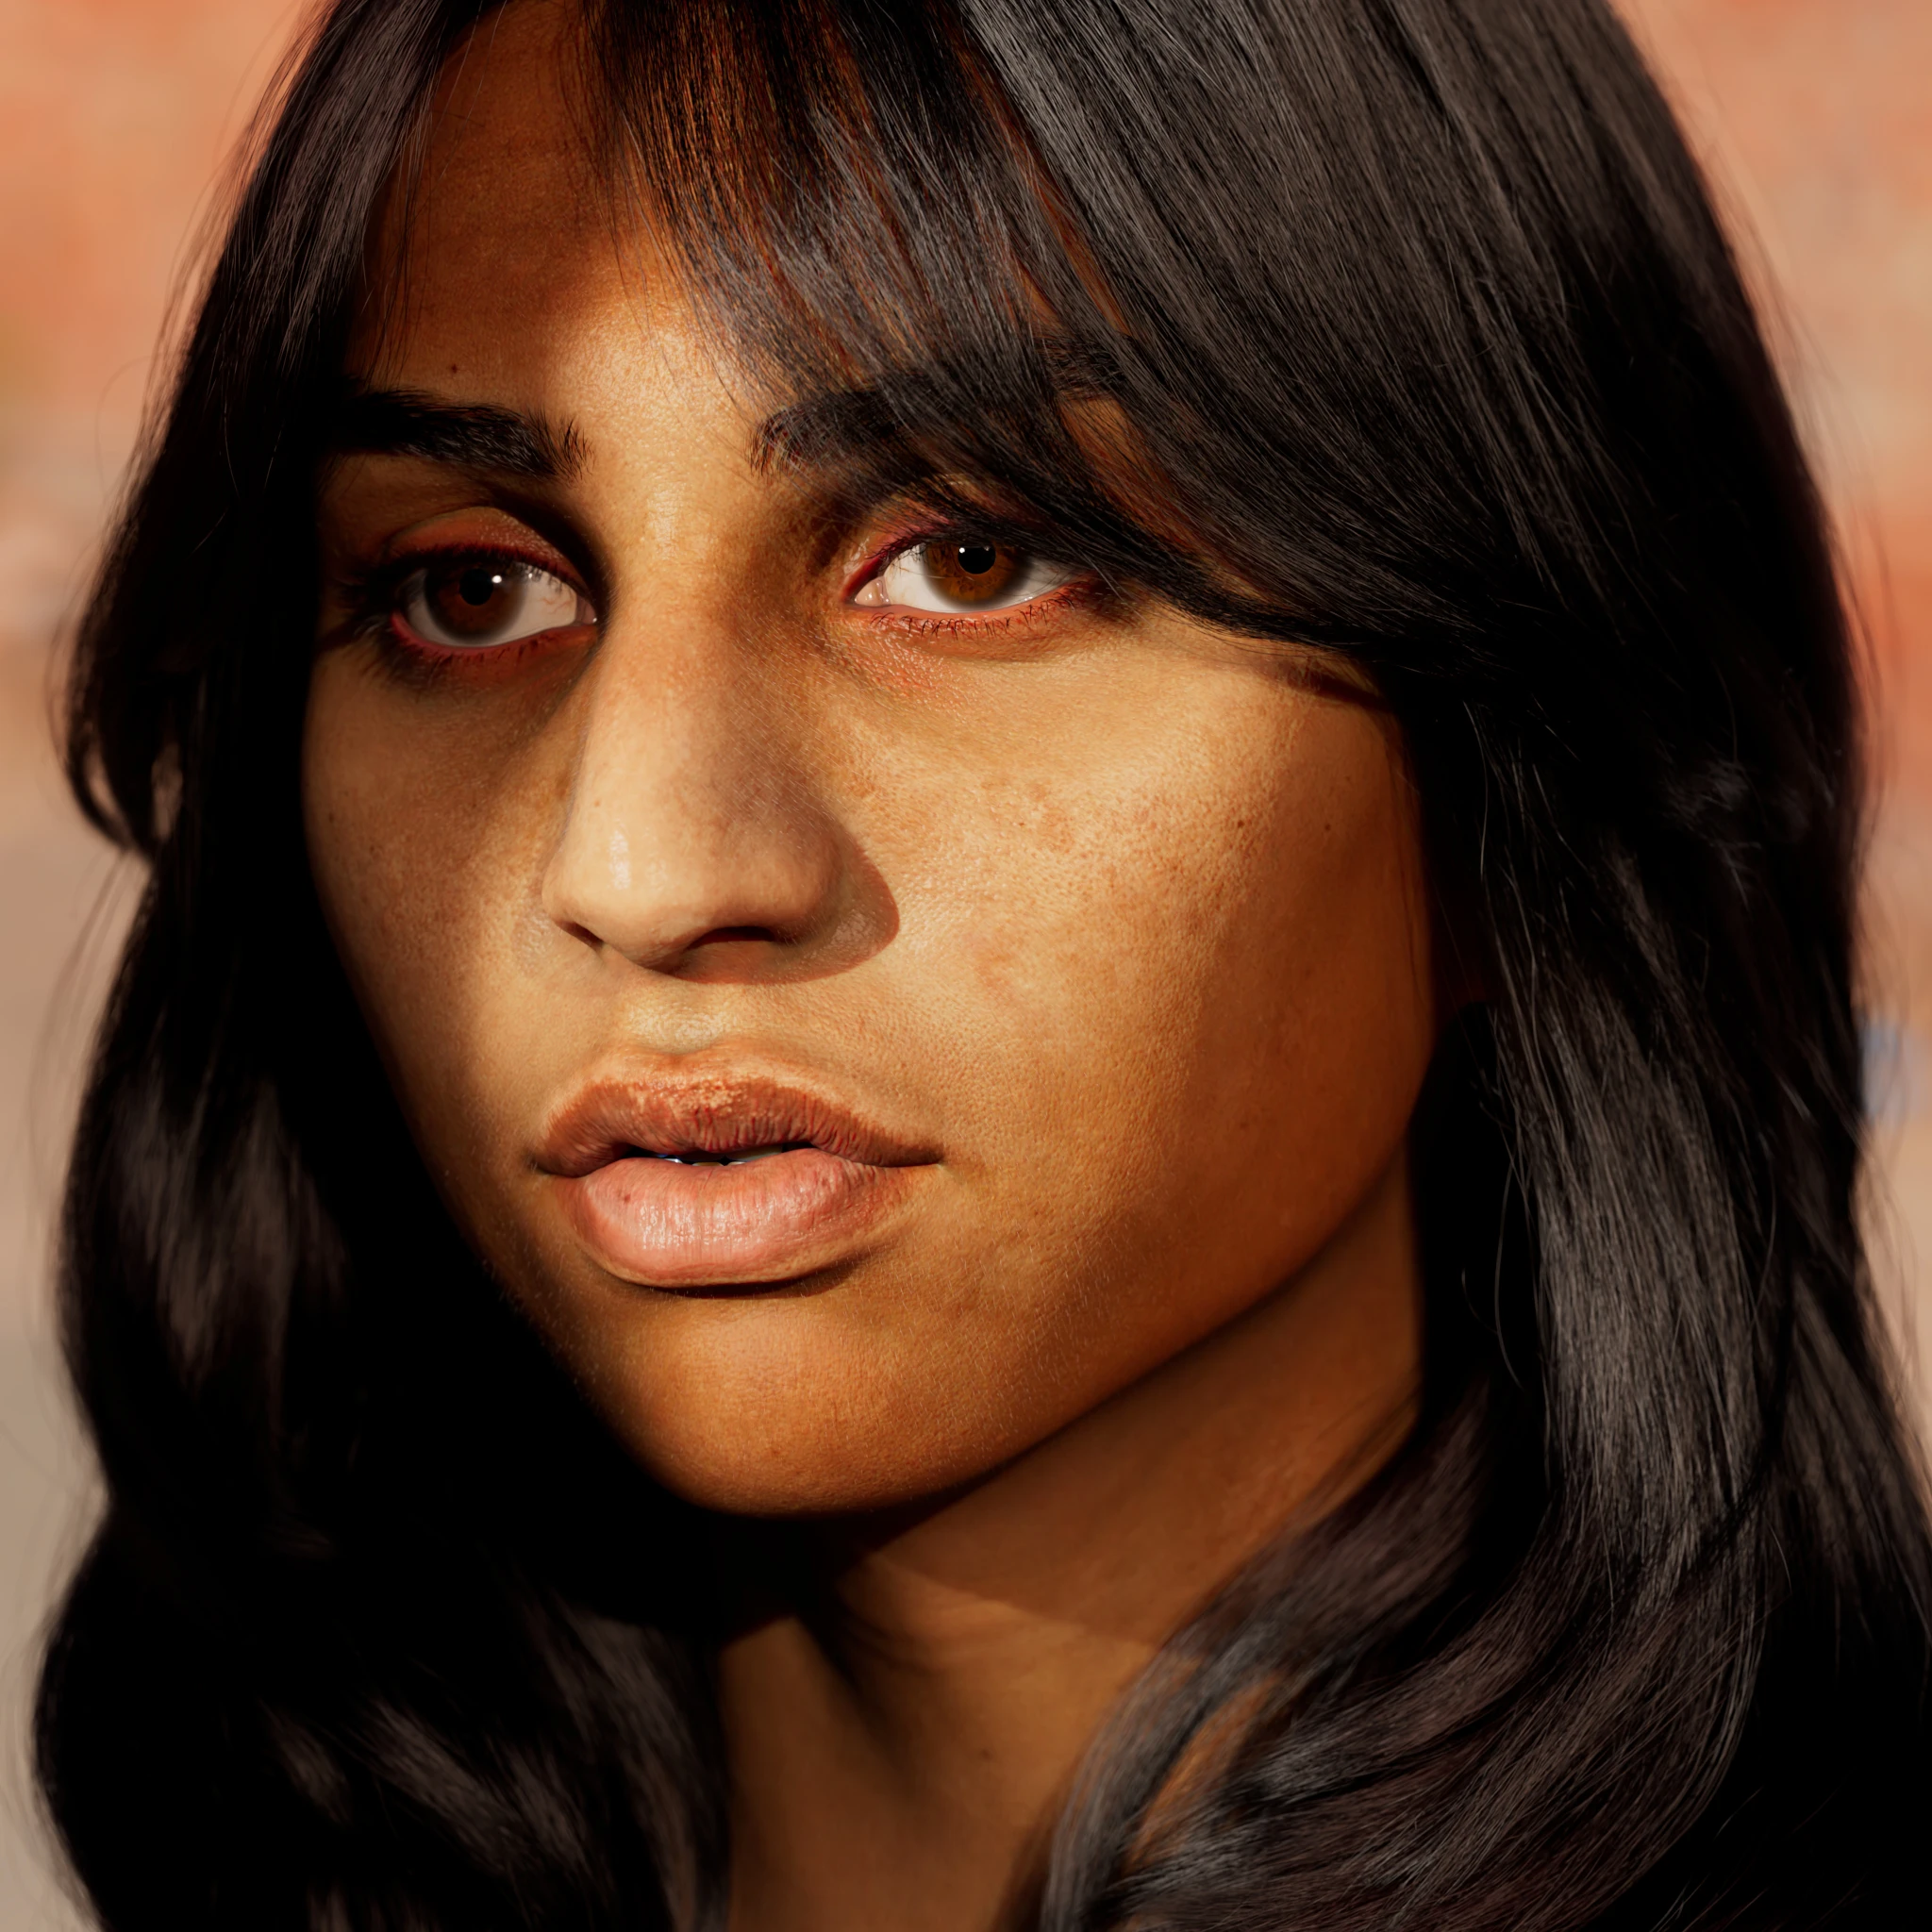
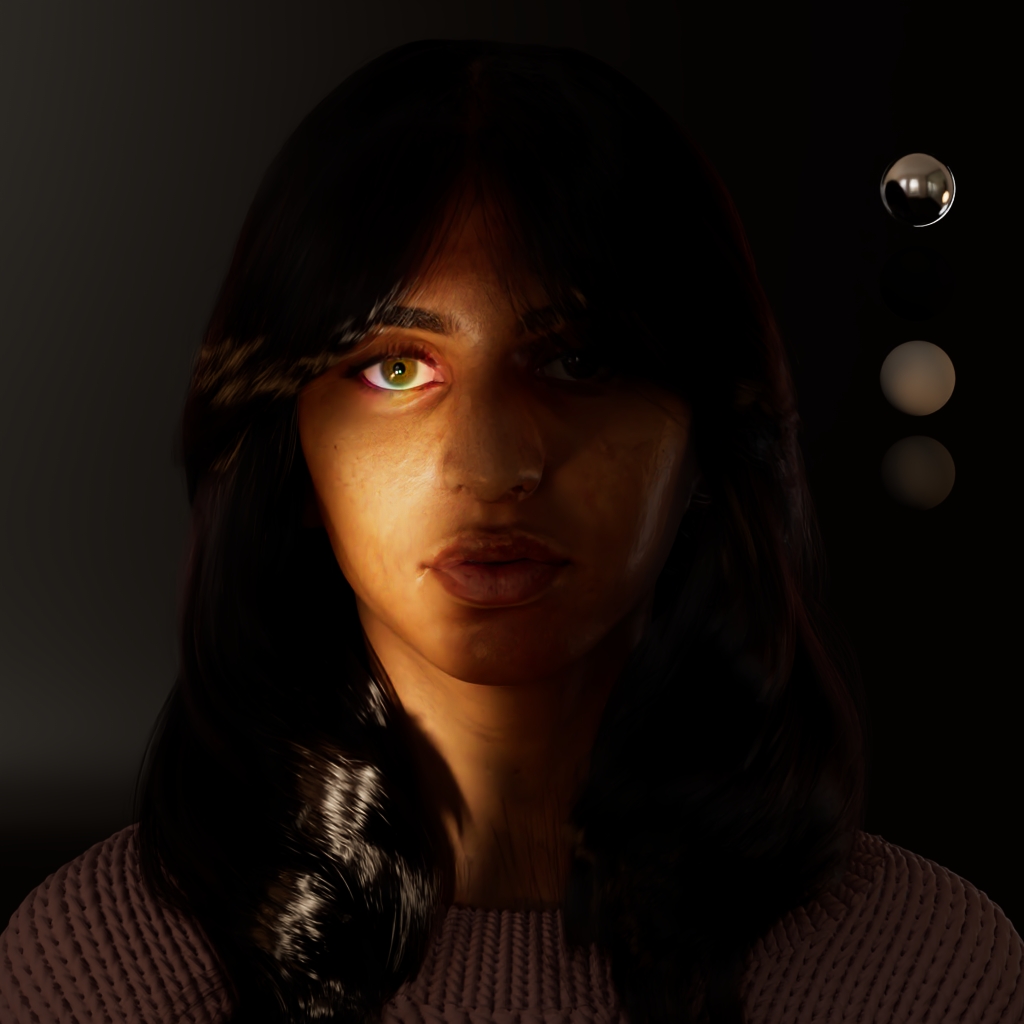
From the beginning of the project, deciding on framing and lighting was very important, so testing was carried on until the very end. Doing several iterations with different camera angles and multiple lighting setups helped showcase the intricacies and details the best, after which, a classic front angle portrait was decided upon, when realizing that getting lost in showcasing detail was not prioritizing the bigger picture … creating a compelling aesthetic needed to take priority.
For the primary render, a single dome light with a studio lighting HDRI was used. The lighting information for the HDRI was based on a 3 point lighting setup which usually works great for basic studio portrait lighting.
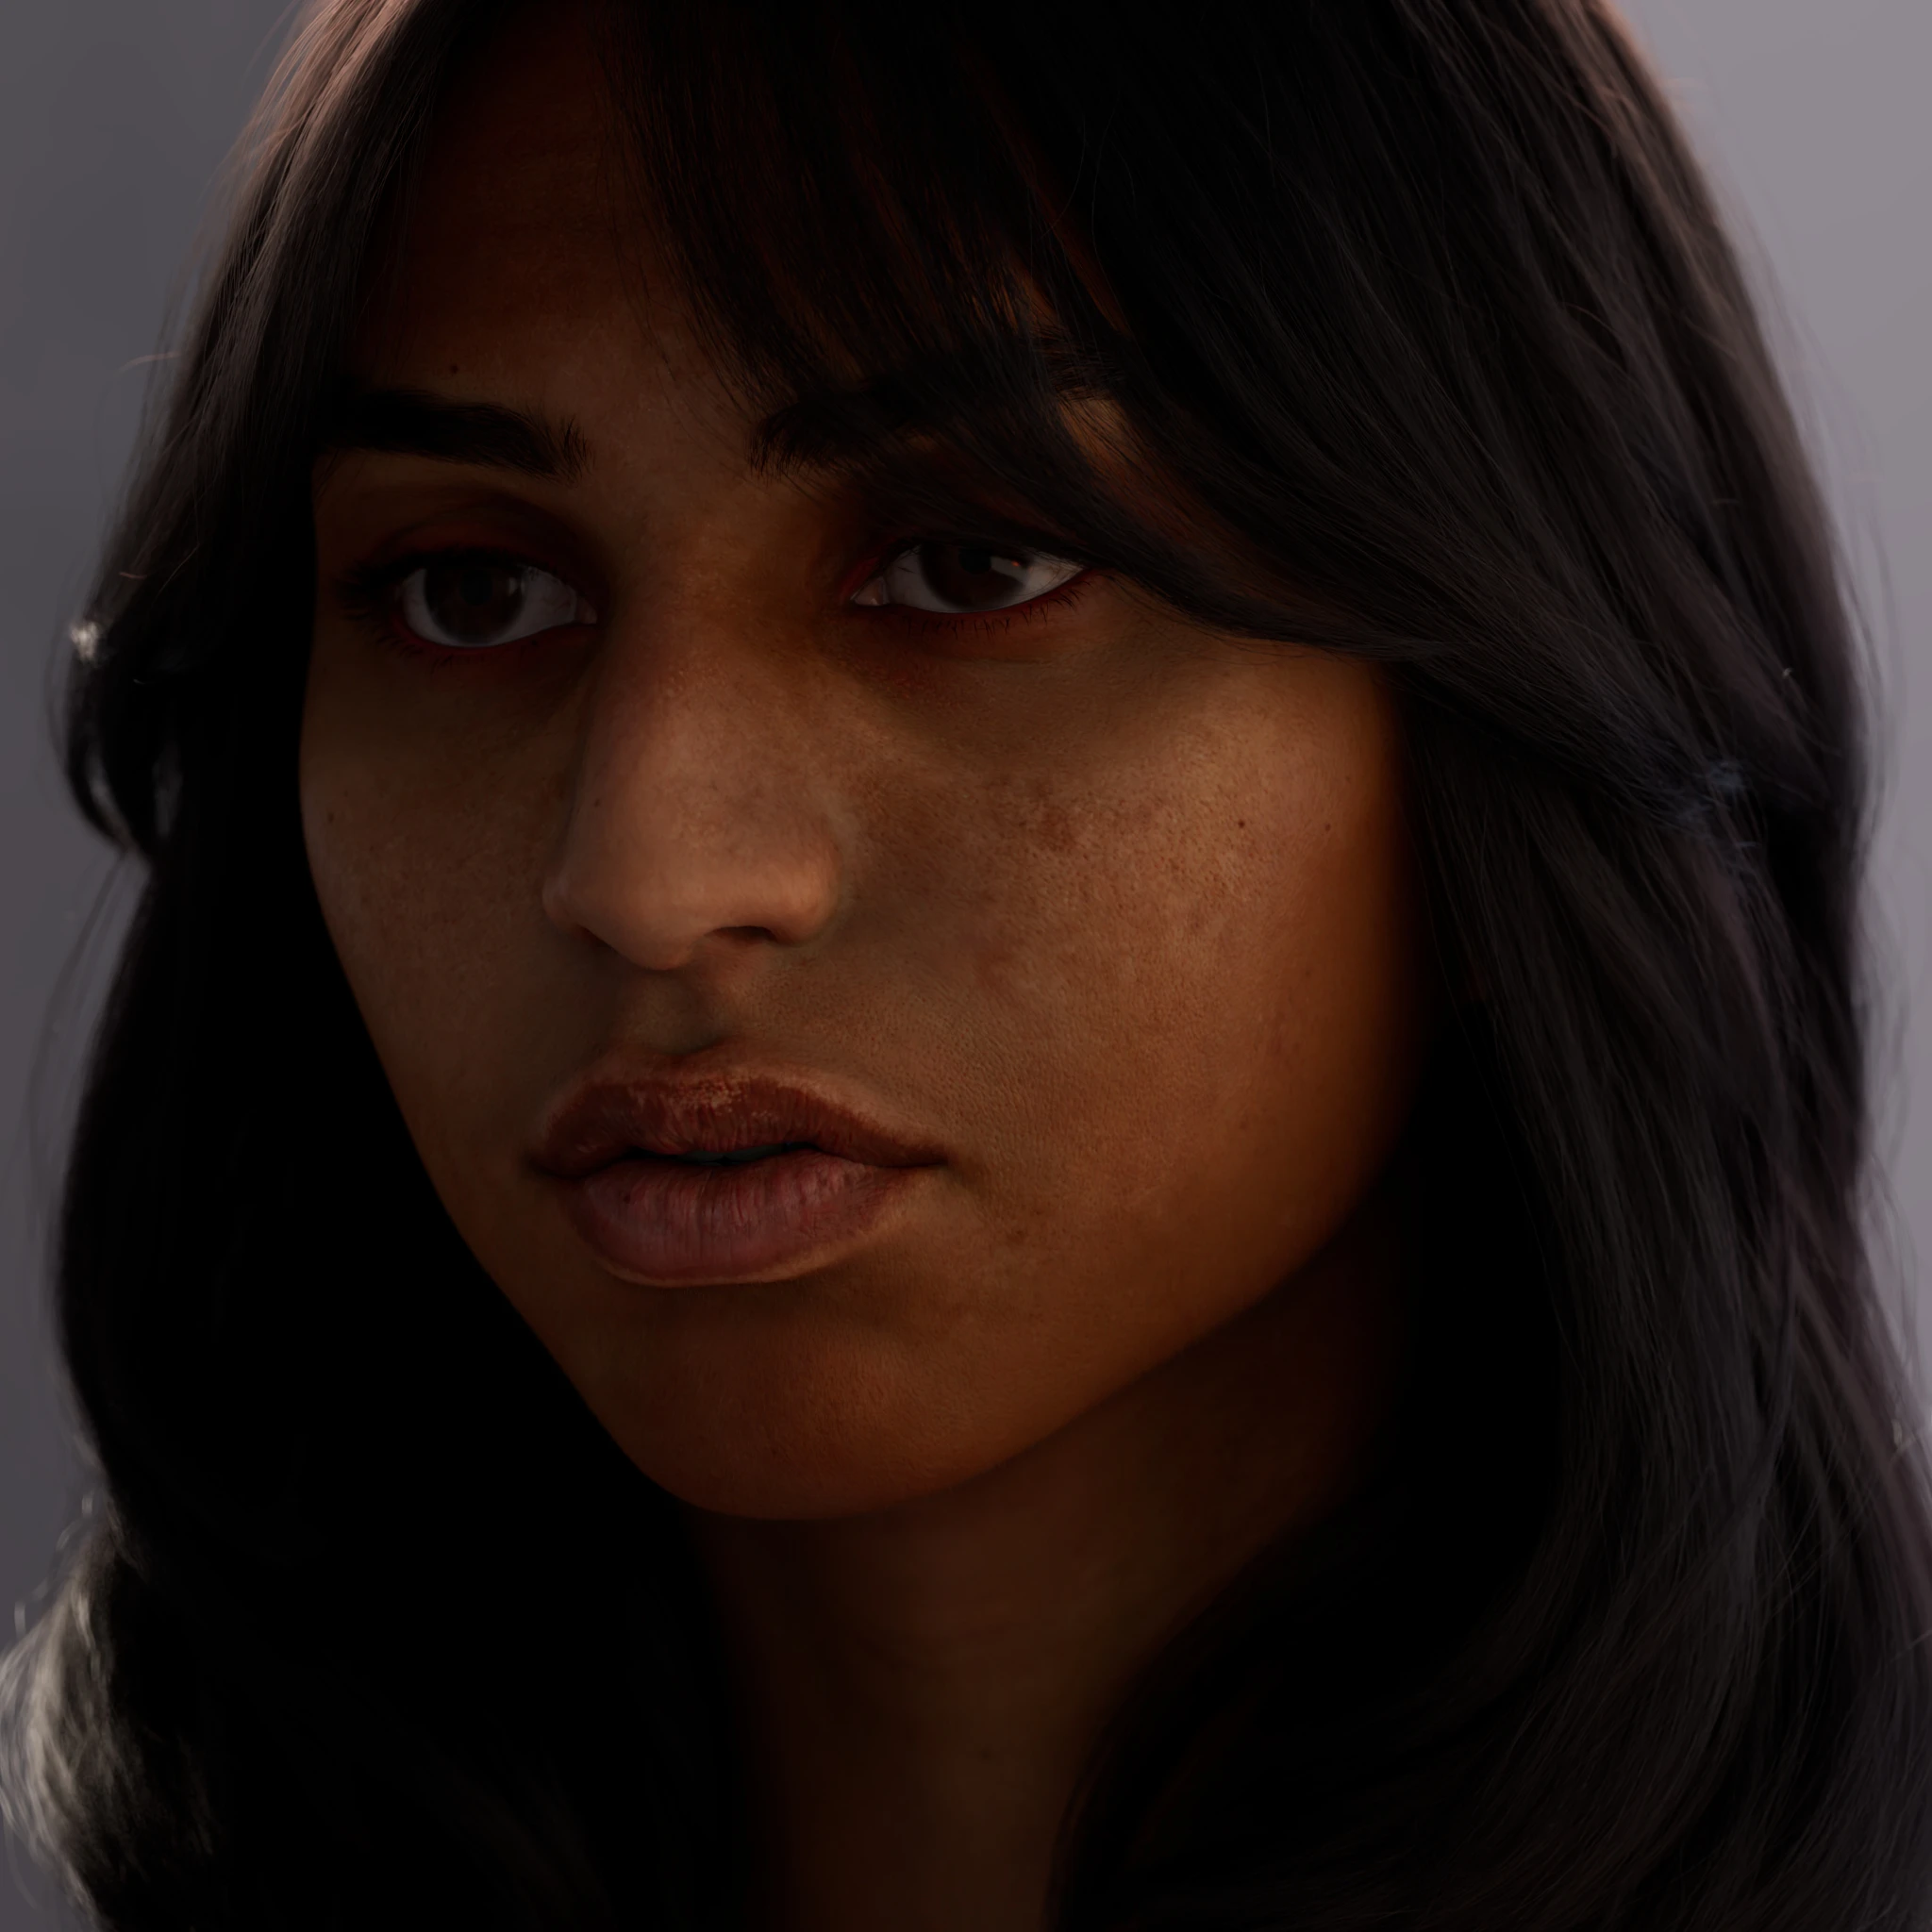
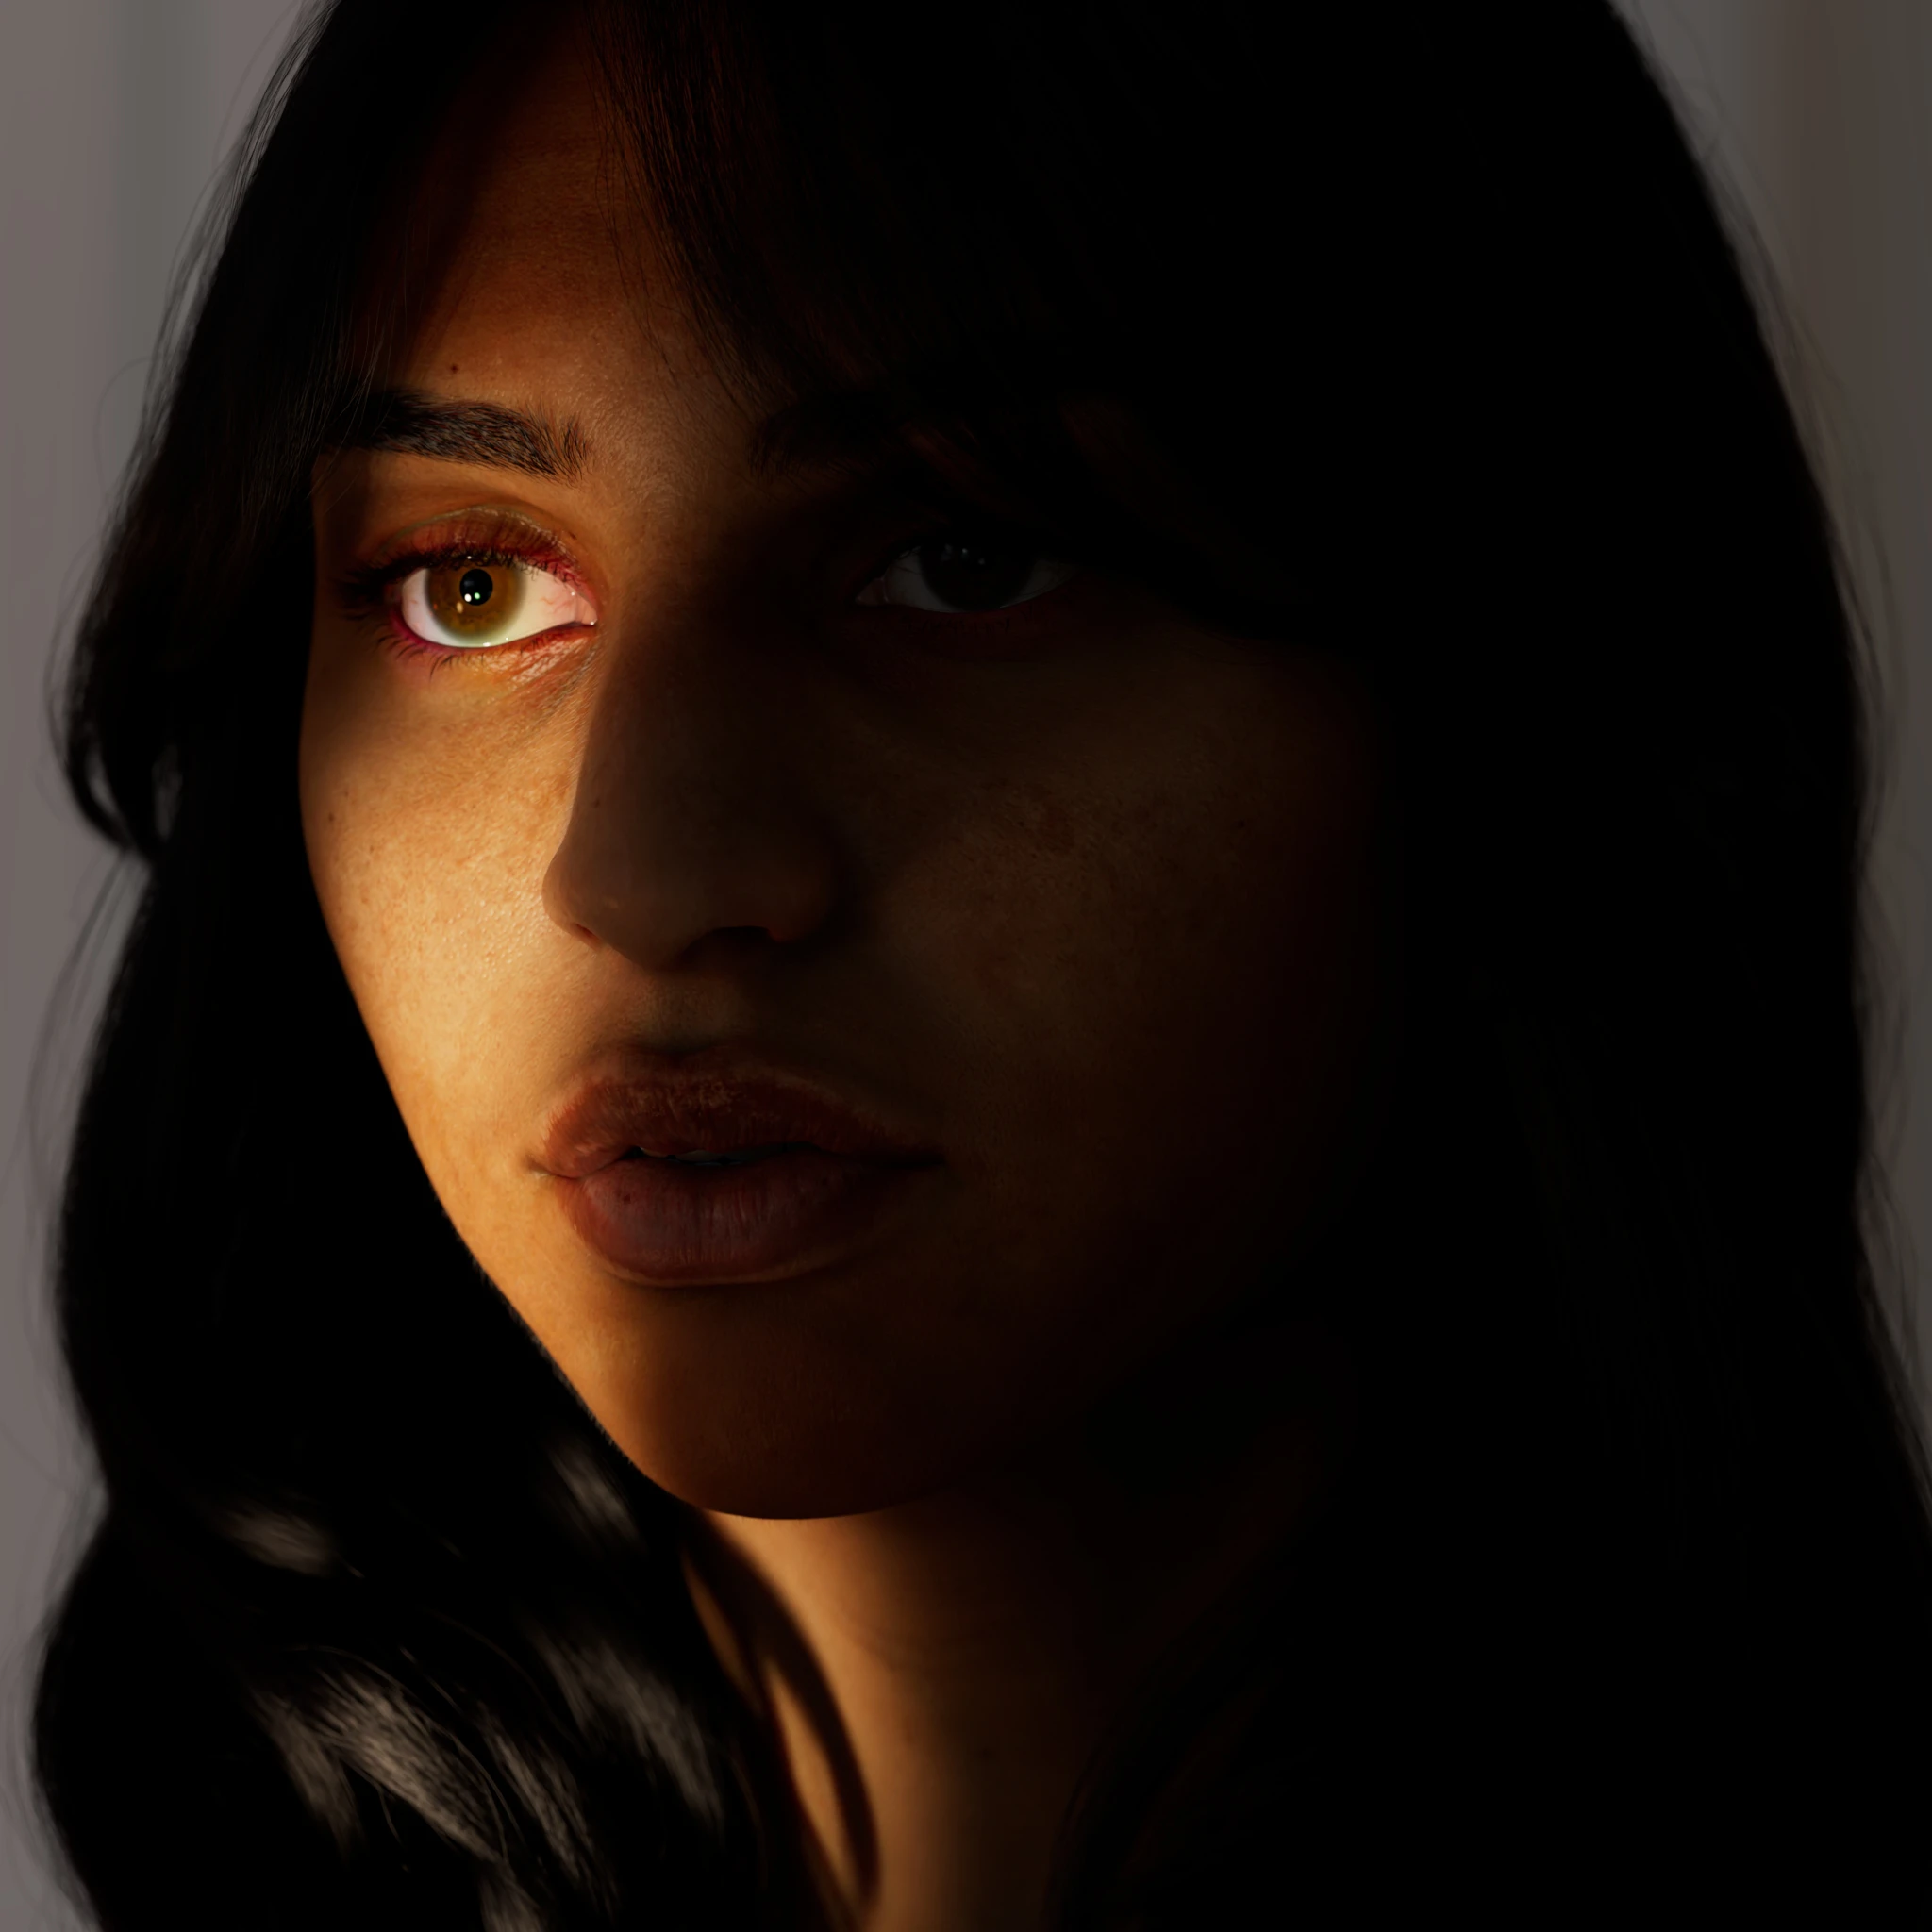
After getting inspired by portrait photographers and film lighting references, I started developing more creative light rigs, including a more dramatic lighting setup that focused on the eyes, with the intention to simulate a ray of sun escaping through a window into a dark room. The rainbow was an added effect, presumably caused by the refraction in the glass of the window. A black and white, high contrast test was also a fun way to emulate classic portrait photography.
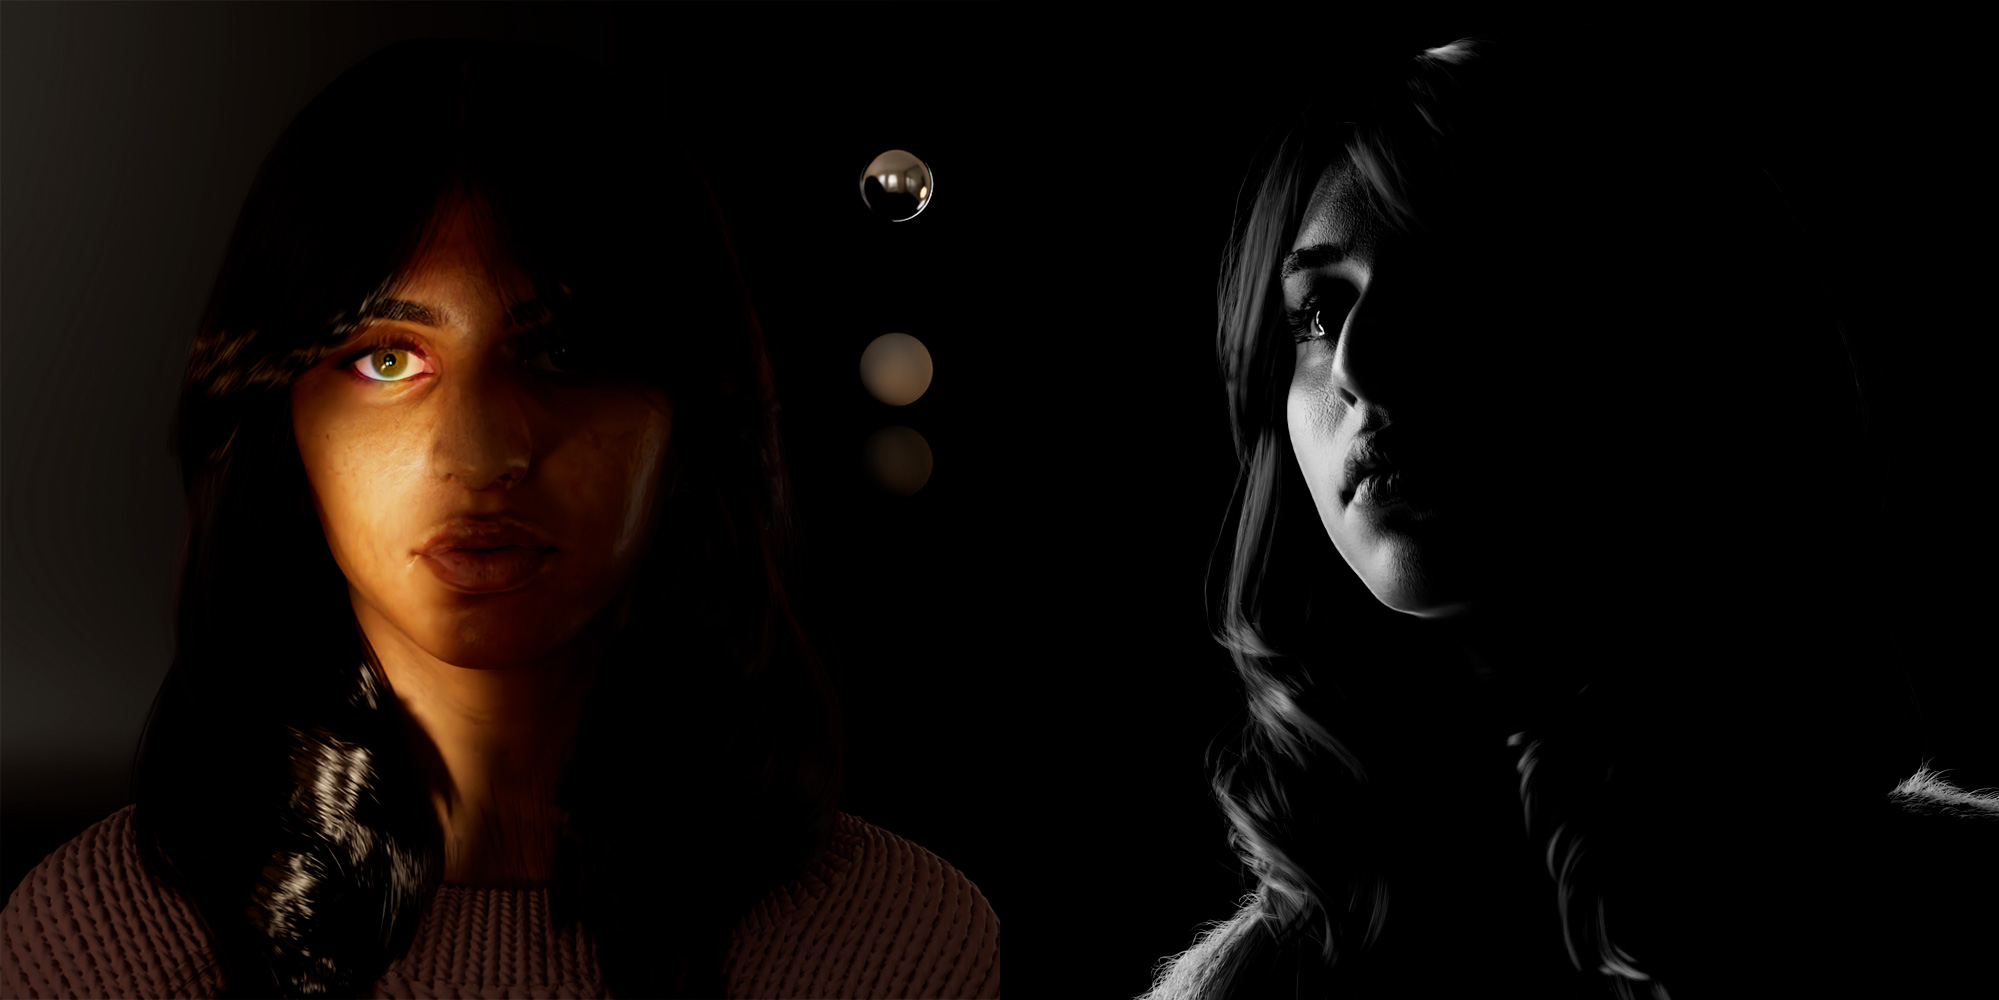
Dramatic and B/W lighting
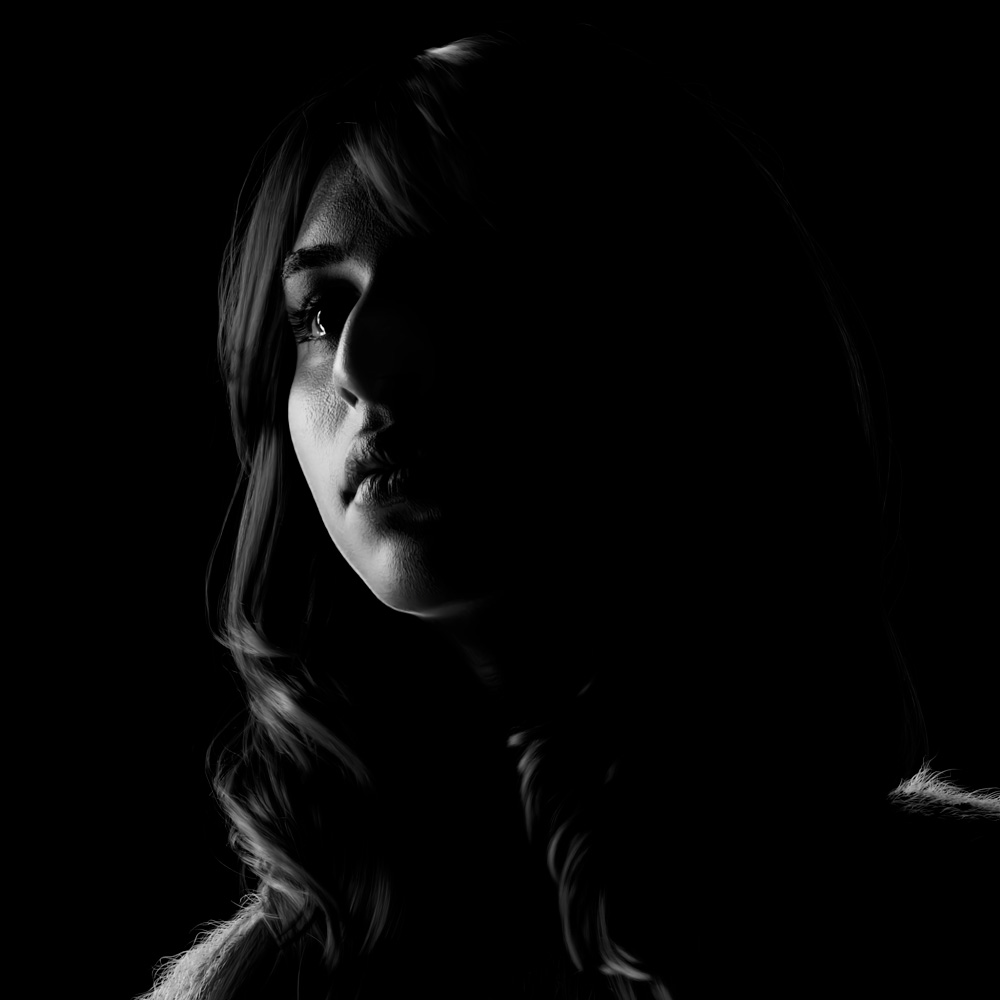
Dramatic and B/W lighting
TIP
Rendering this project took quite the toll on my workstation, especially considering the complexity of the shaders in the scene and the very high poly mesh. Knowing this at the beginning of the project helped me prepare and optimize the render settings as best as possible to maximize the available computing resources.
One thing I didn't want to skimp on was skin detail, so lowering the Micropolygon Length to 0.5 was great, as it produces four times the amount of microplygons per pixel, thus giving the image that crisp feel we all love. This will also increase memory usage, as more geometric detail needs to be stored in memory, so keep an eye out for that.
Micropolygon Length has a significant impact on geometric detail
Using a pixel variance of 0.05 was the right spot for this project, as it helped maintain quality but not waste too much time on getting rid of a certain level of noise that could later be denoised without much loss of detail.
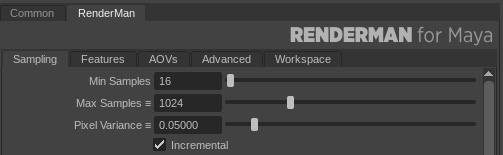
RenderMan Sampling Settings
Here we can see the effects of the RenderMan denoiser on the final image with the sampling settings above.
RenderMan Denoiser results
TIP
It helps to launch a batch render to spare the computer from running the IT window GUI. The time gained from these is minimal, but when rendering on a deadline, every second counts… (I remind myself every time I take a snack break).
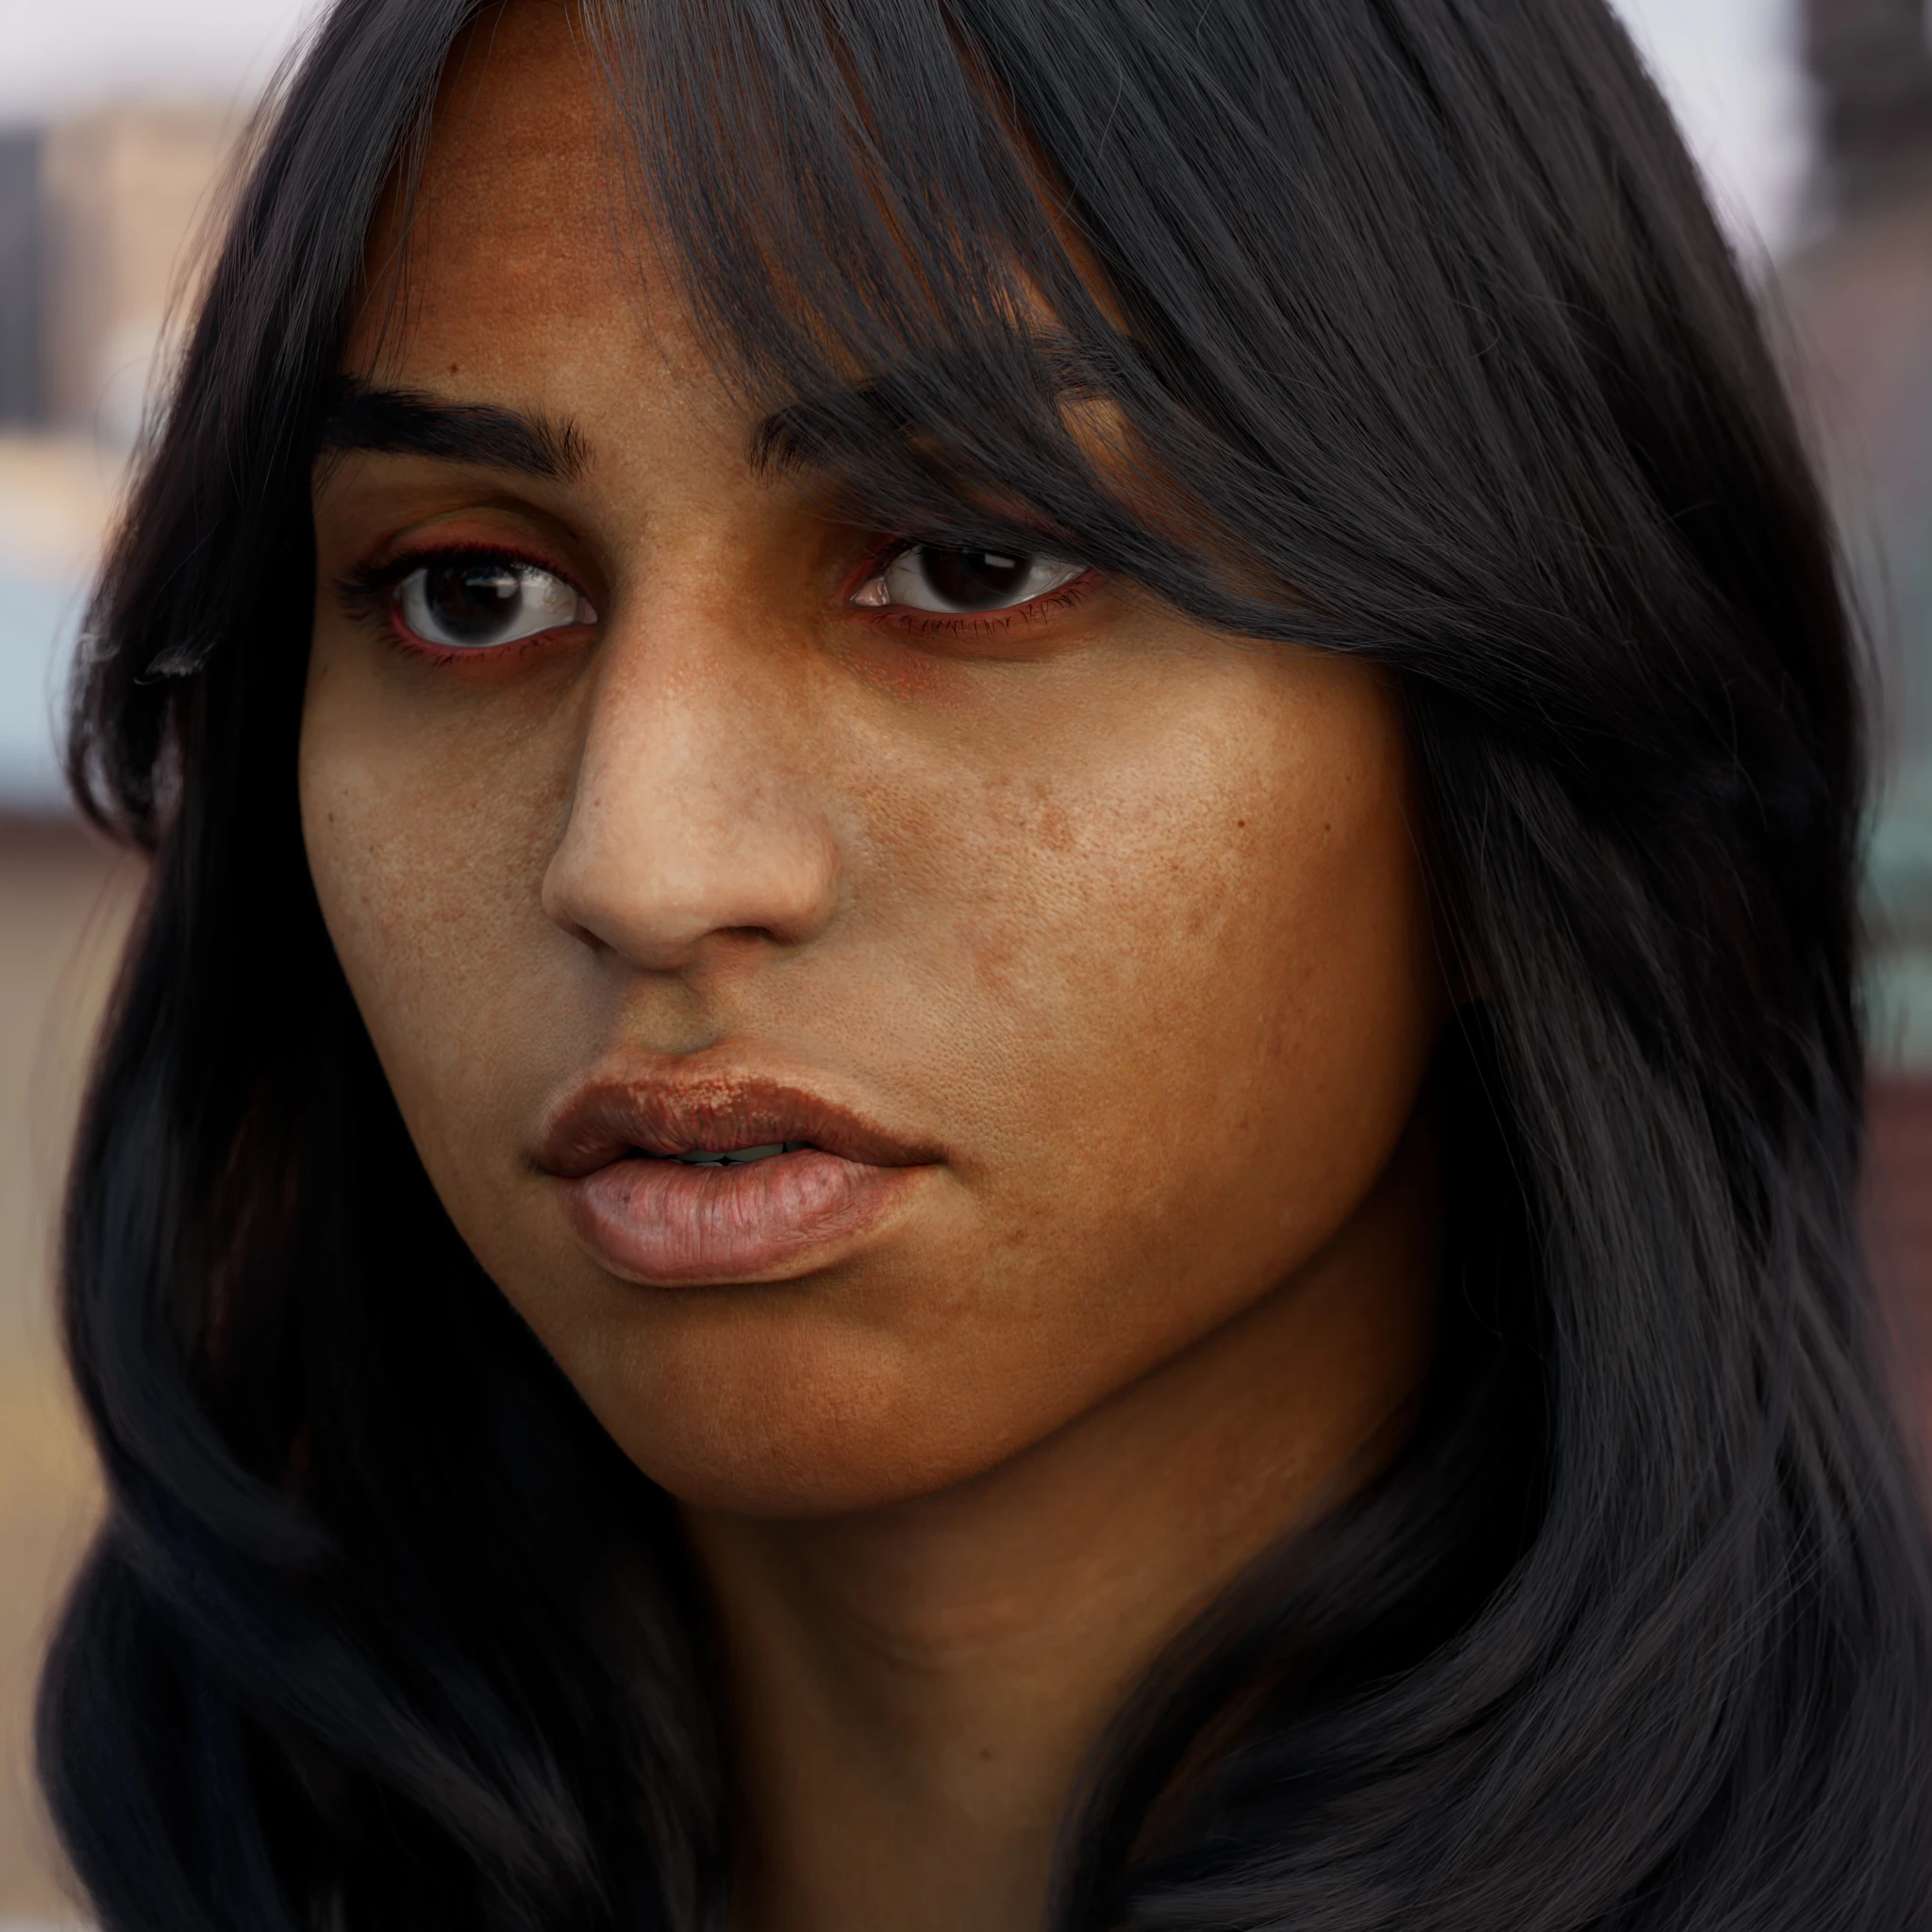
This project has very little comp work, as the majority of it was balancing levels and enhancing certain areas depending on the camera shot rendered.
The depth of field was rendered in-camera, this allowed me to worry more about sharpening details and highlights in areas like the nose and the cheeks.
The eyes were also given a slight change in colour values in order to make the image pop over the white background. An ever so slight amount of glow and chromatic aberration was also introduced for a subtle photographic effect, and a final bloom effect really added to the dreamy aesthetic.
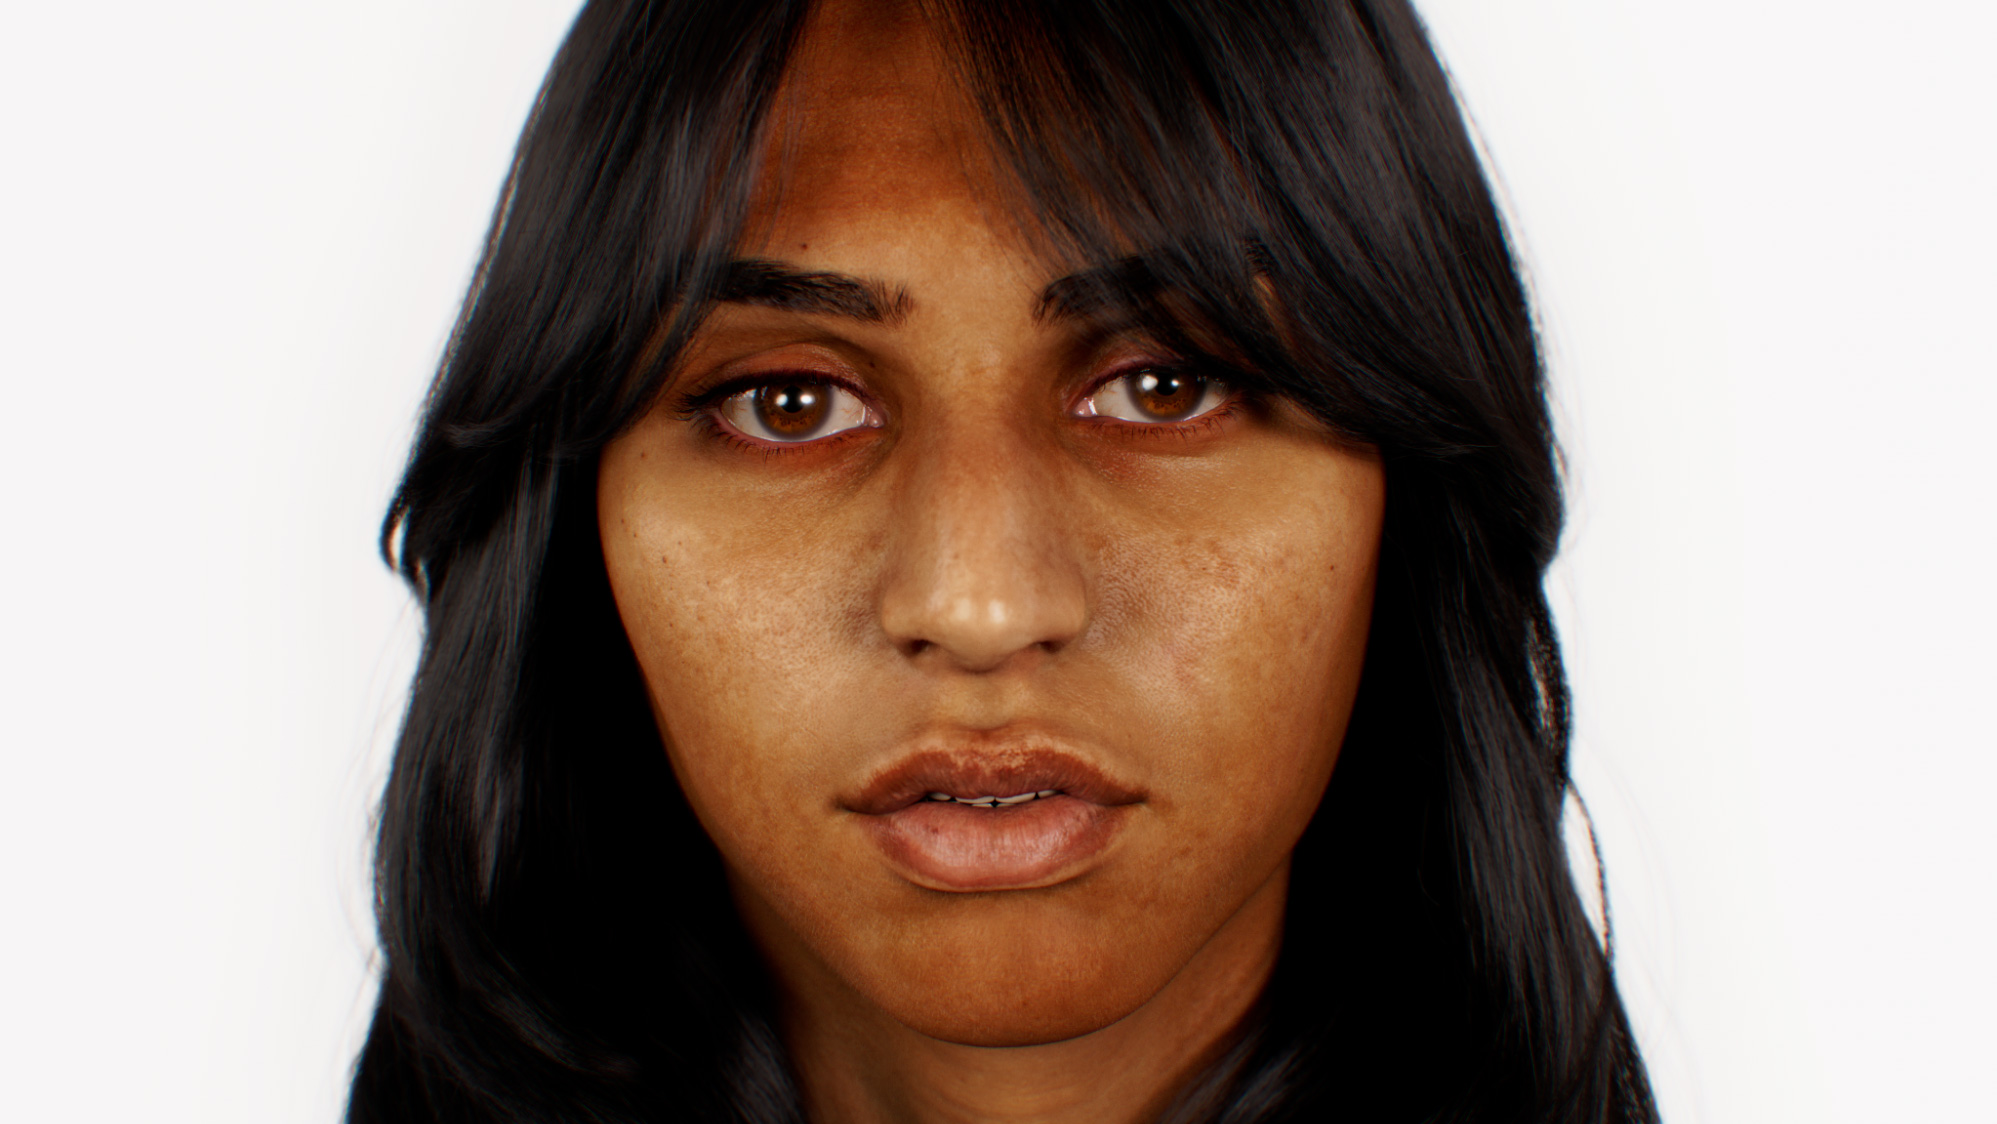
Final composited image!
Ashe Daniel is a CG artist currently based in Lyon, France. Having started her career in the gaming industry, she moved over into VFX shortly after to chase her passion. She is striving to broaden her technical capabilities to create art as freely and raw to true intention as possible. Her journey is just beginning as an artist. There’s much more to come.
This project is available with a Attribution-NonCommercial 4.0 International License. This allows you to share and redistribute for non-commercial purposes, as long as you credit the original authors.